Giving users some Quick Wins

When I first started using Godot as a casual observer, I could tell it was a very powerful system, but I also struggled to get some basic things in place. While certainly following tutorials, reading forums, and participating online would bring clarity, I felt that there were parts of Godot that could use a gentler introduction—but I did not quite know what this would be.
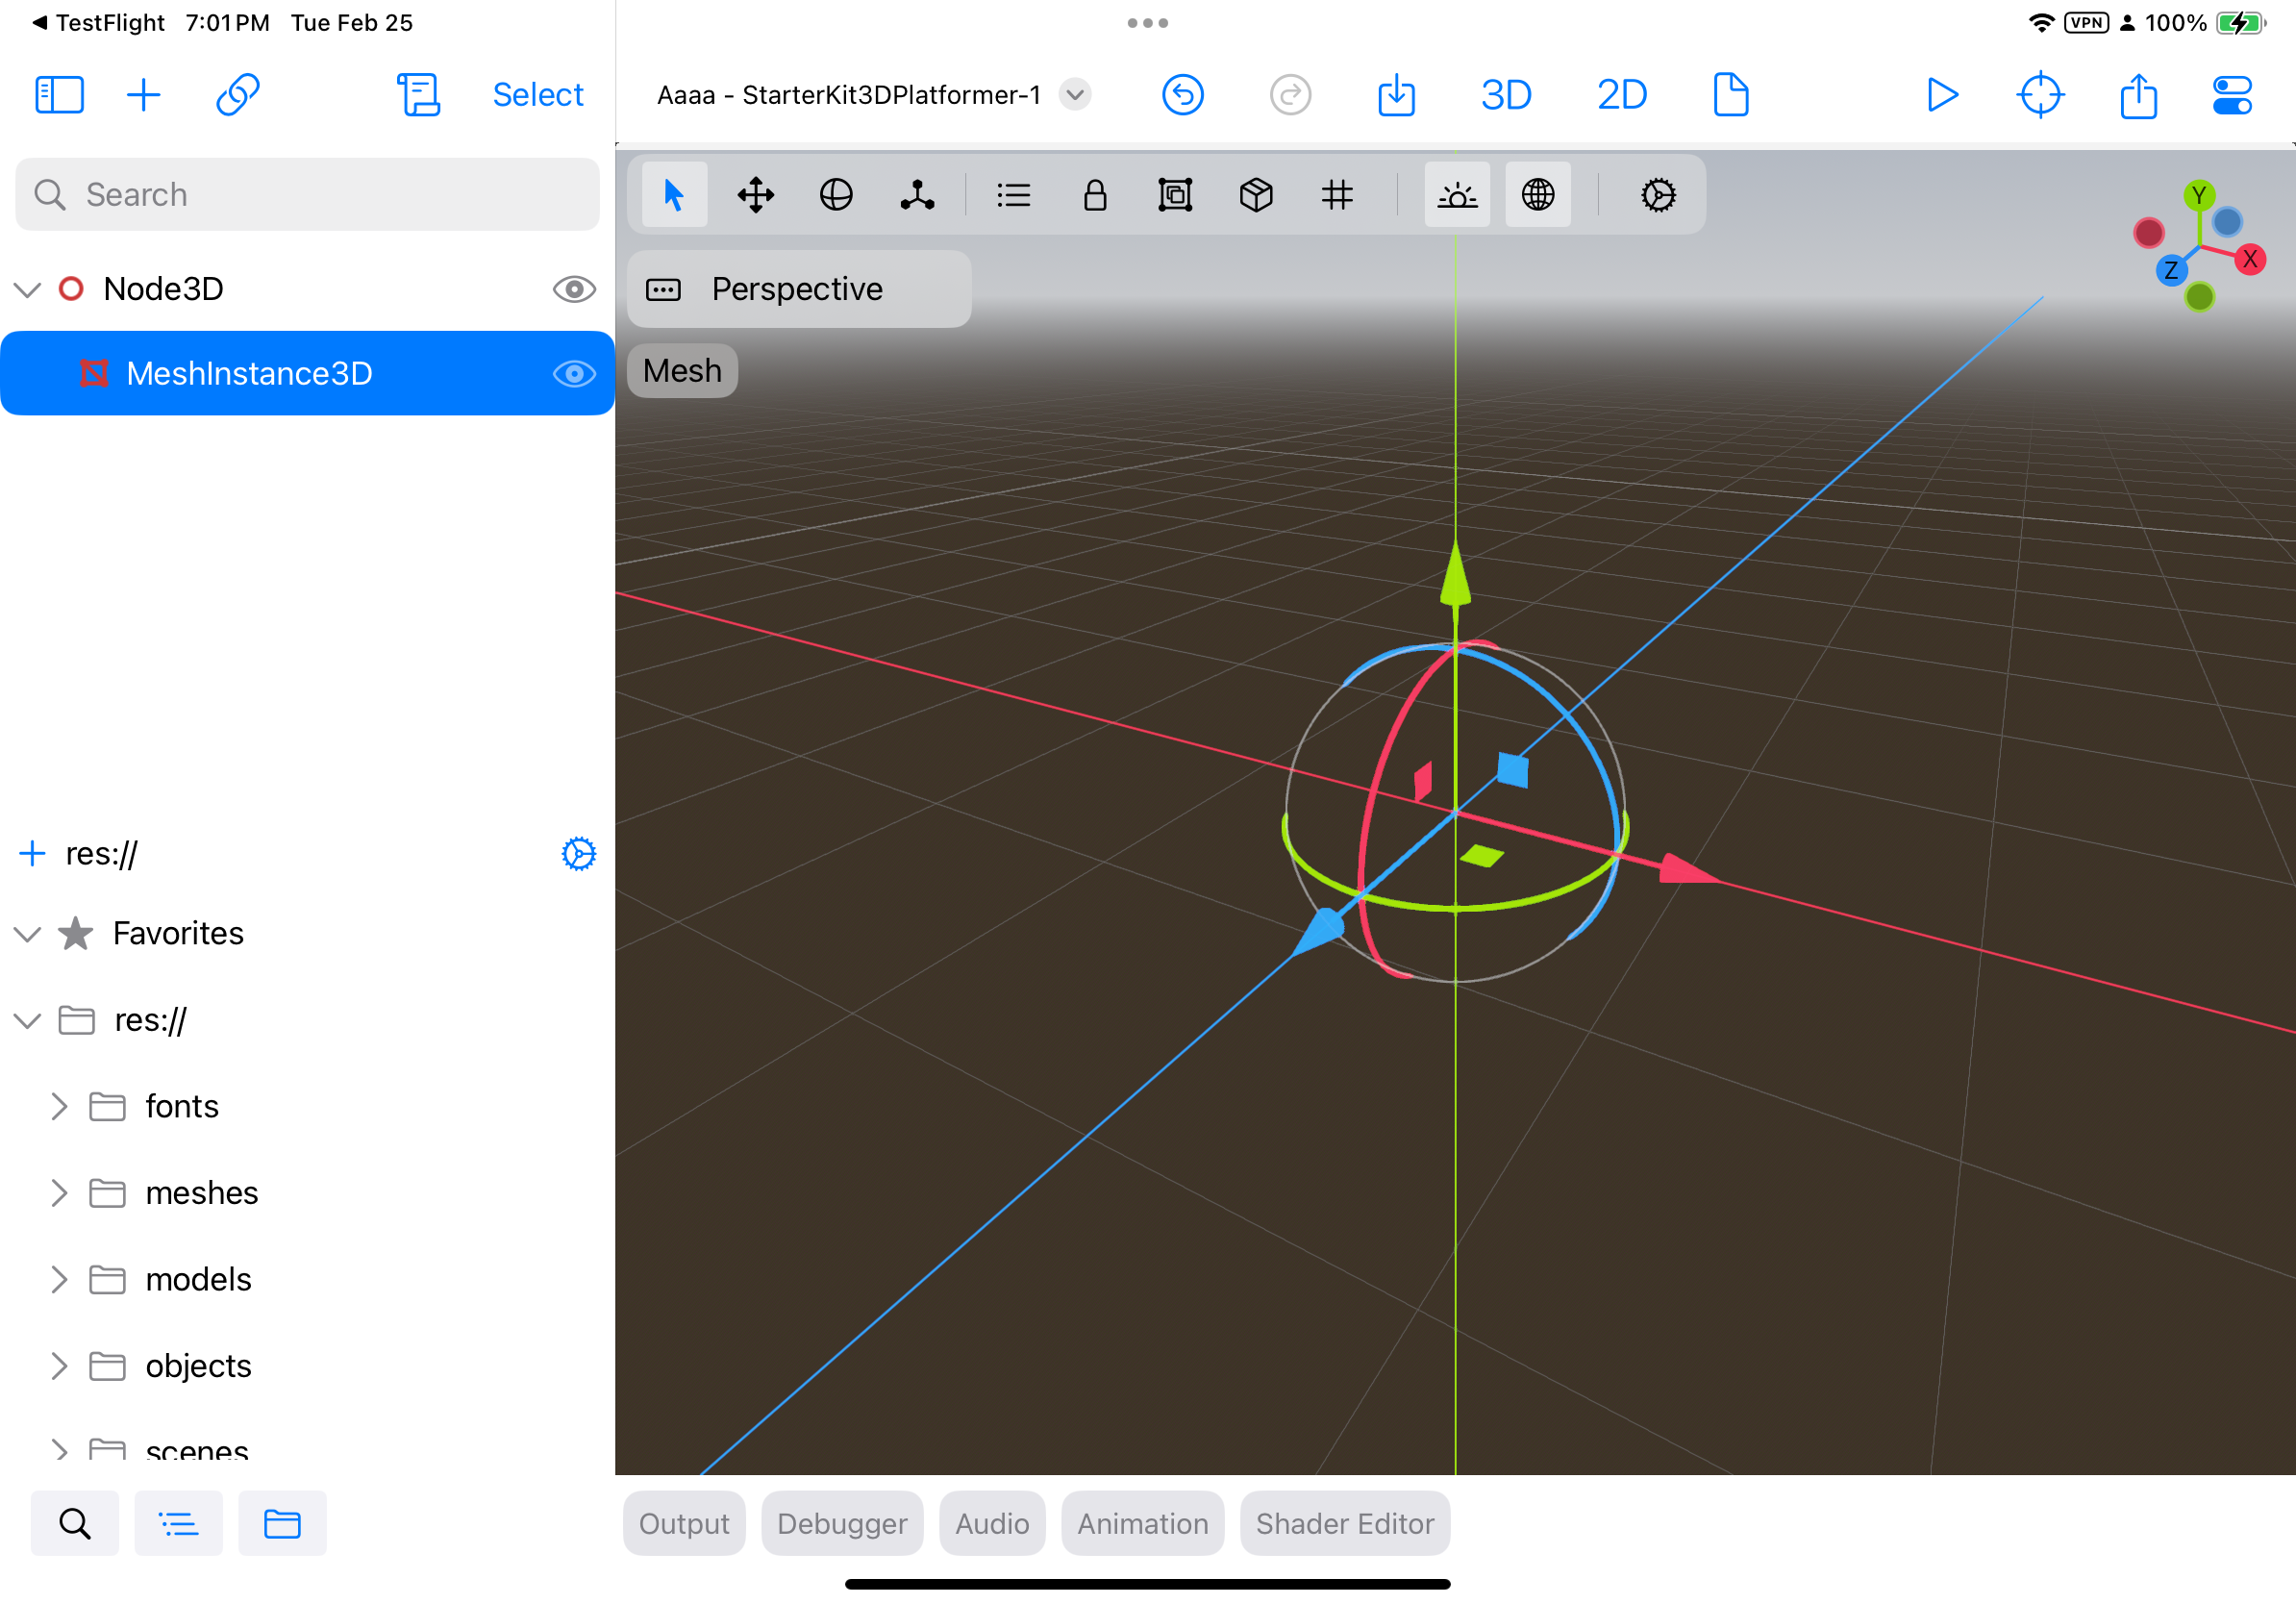
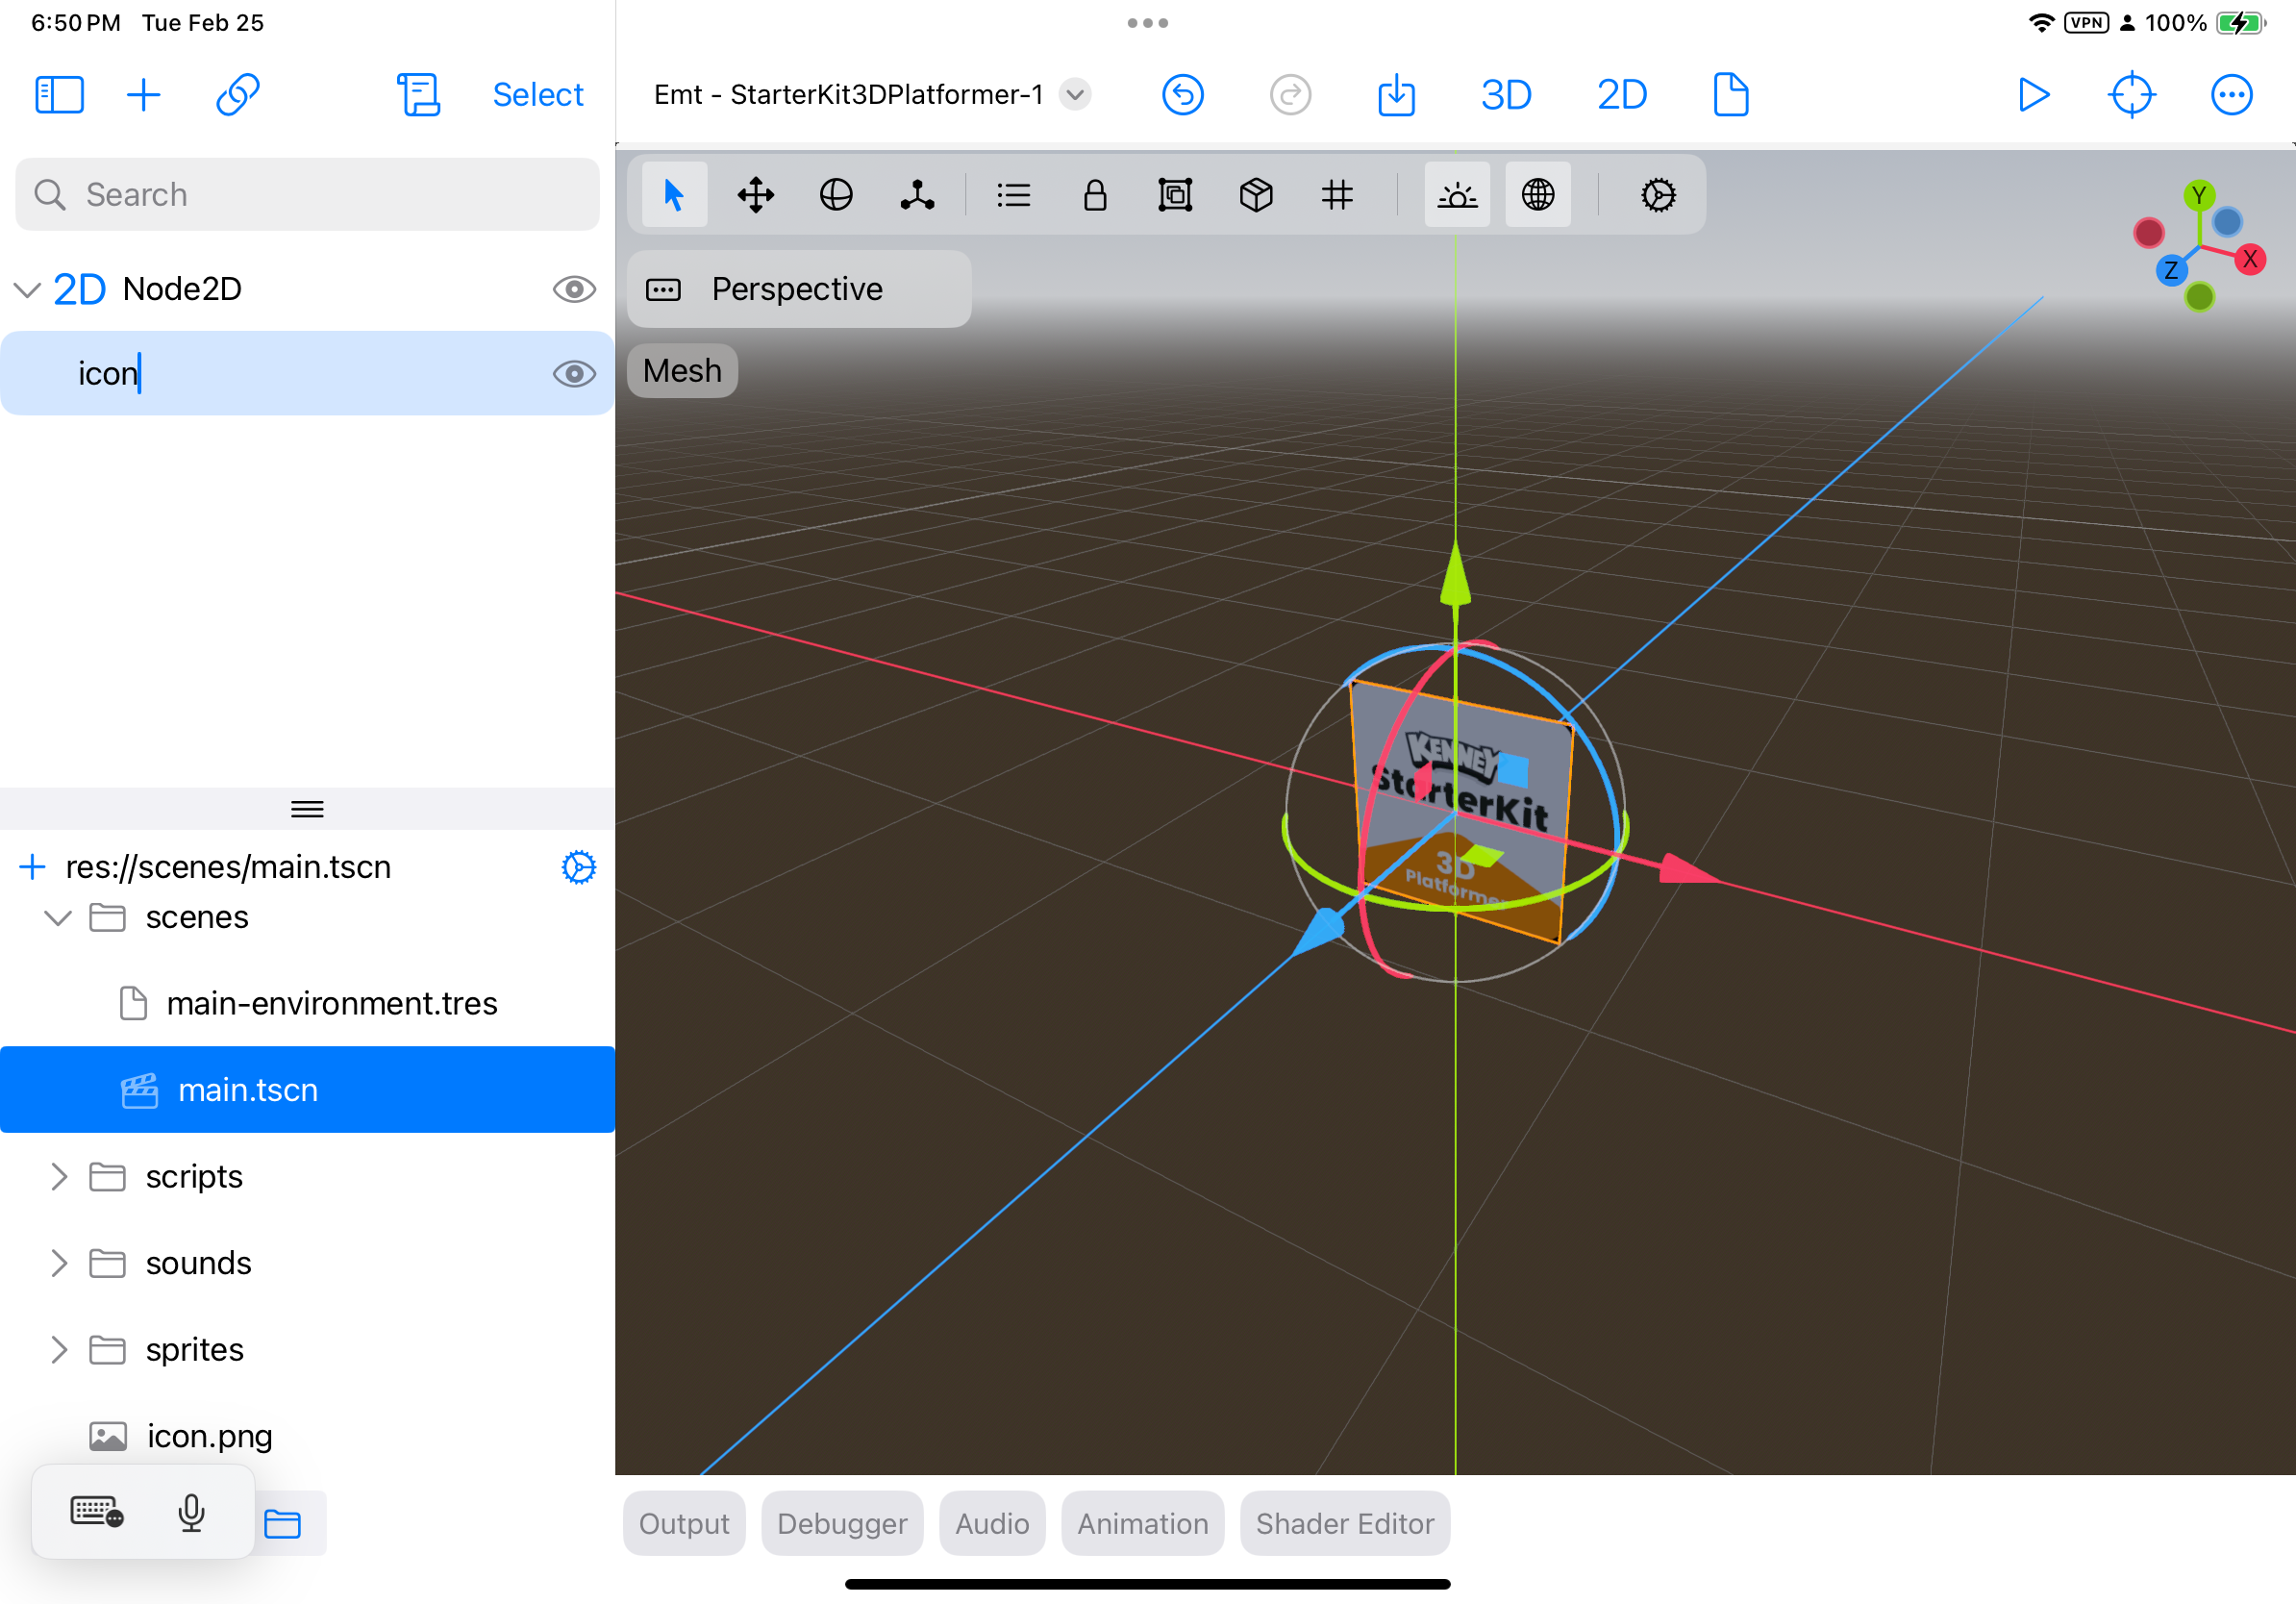
In particular, getting some 3D objects quickly on the screen to play around felt like a chore. The trick is knowing you want to create a MeshInstance3D node.
This alone does nothing, once you created it, you are greeted with the void:
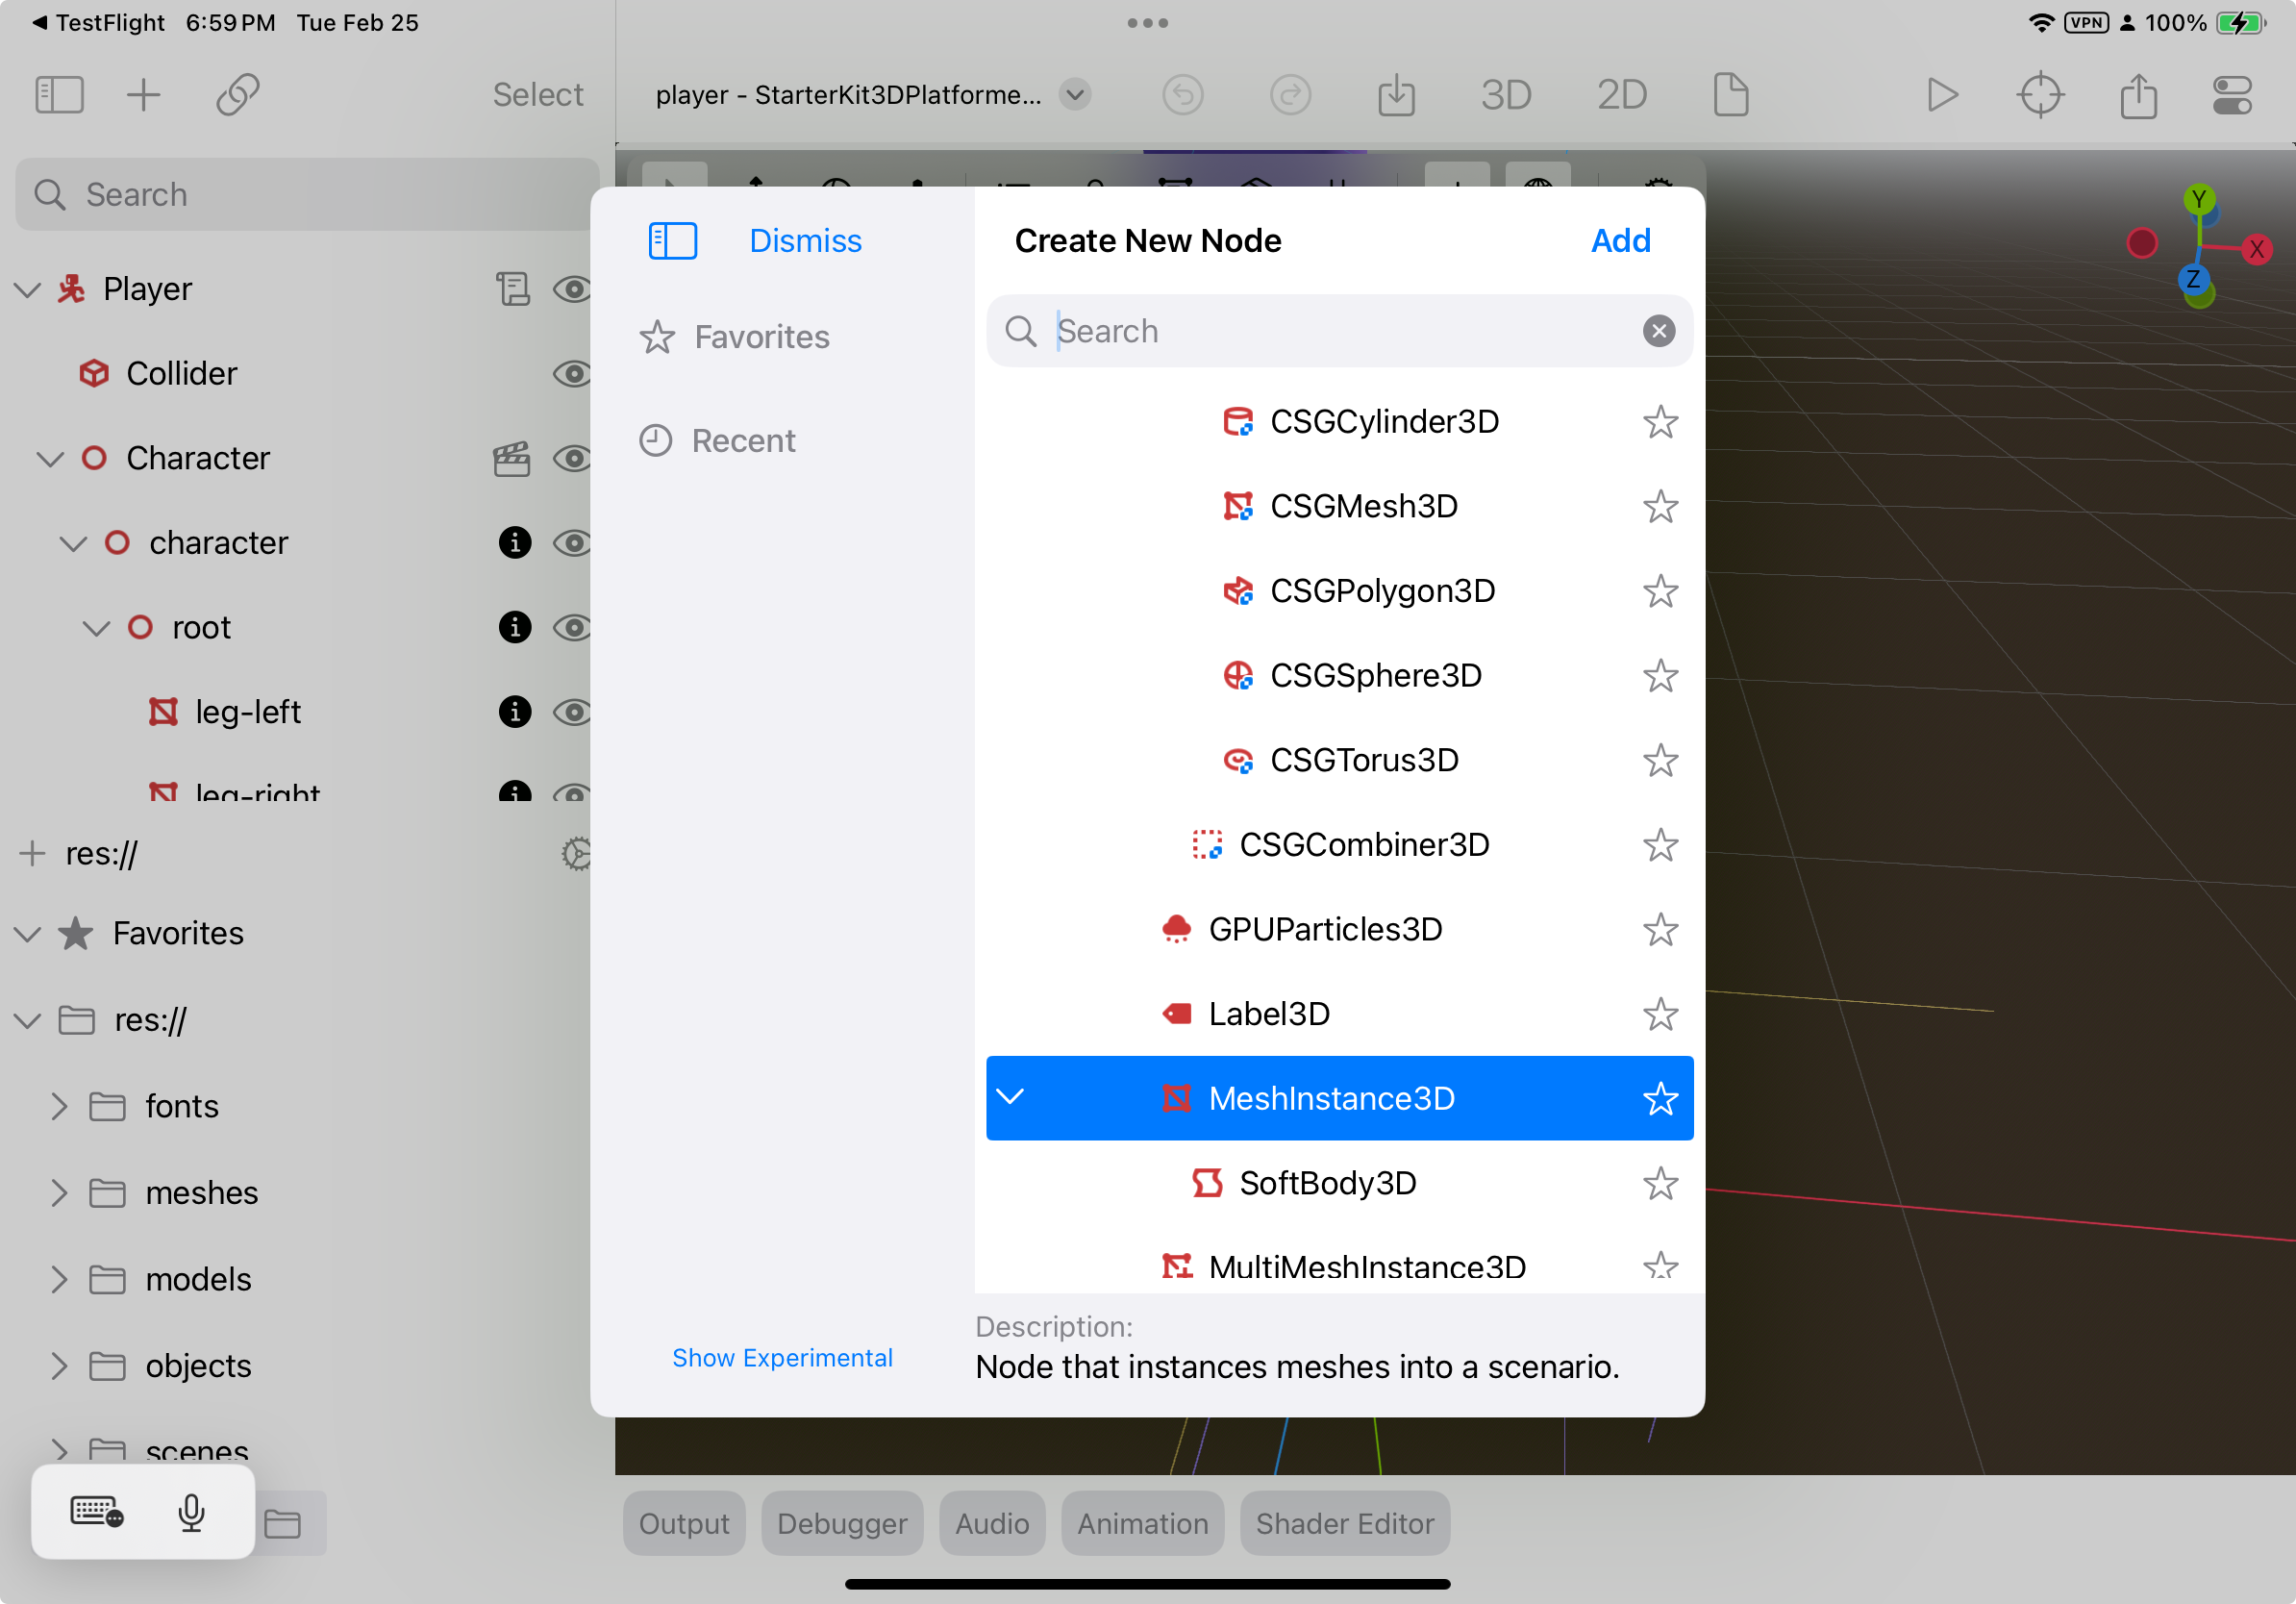
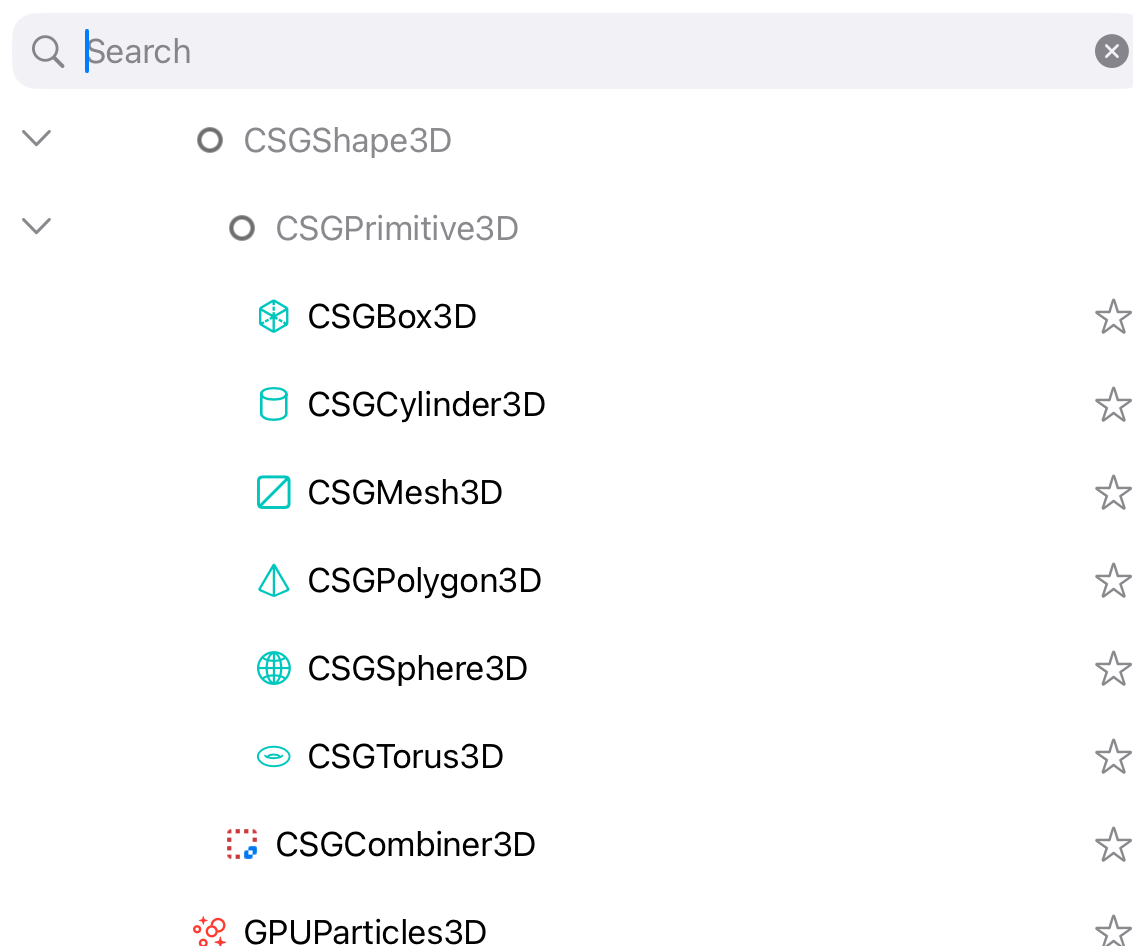
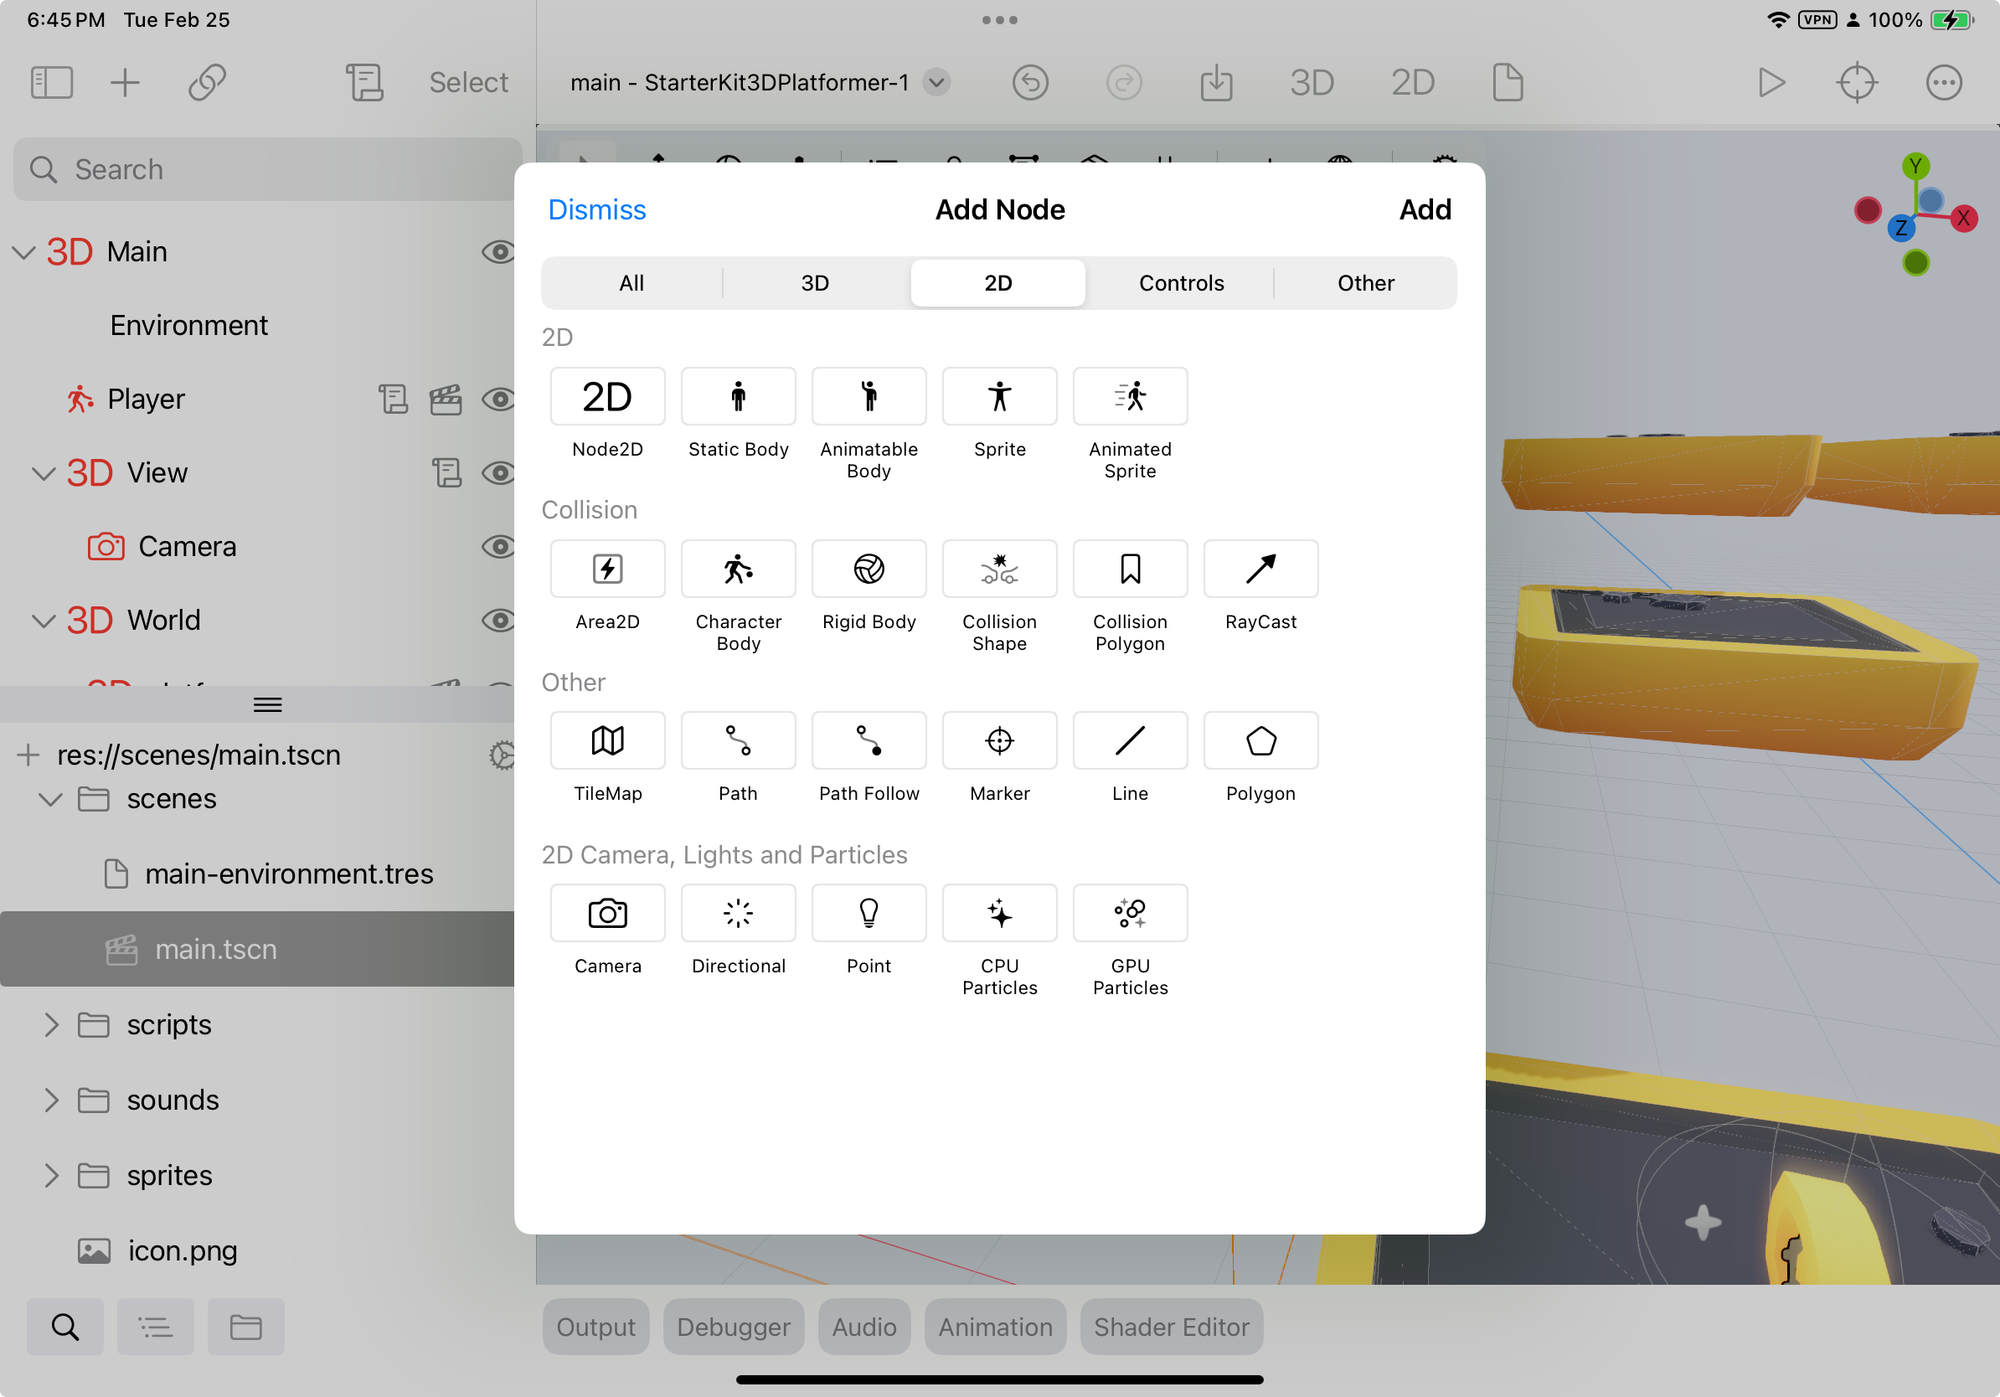
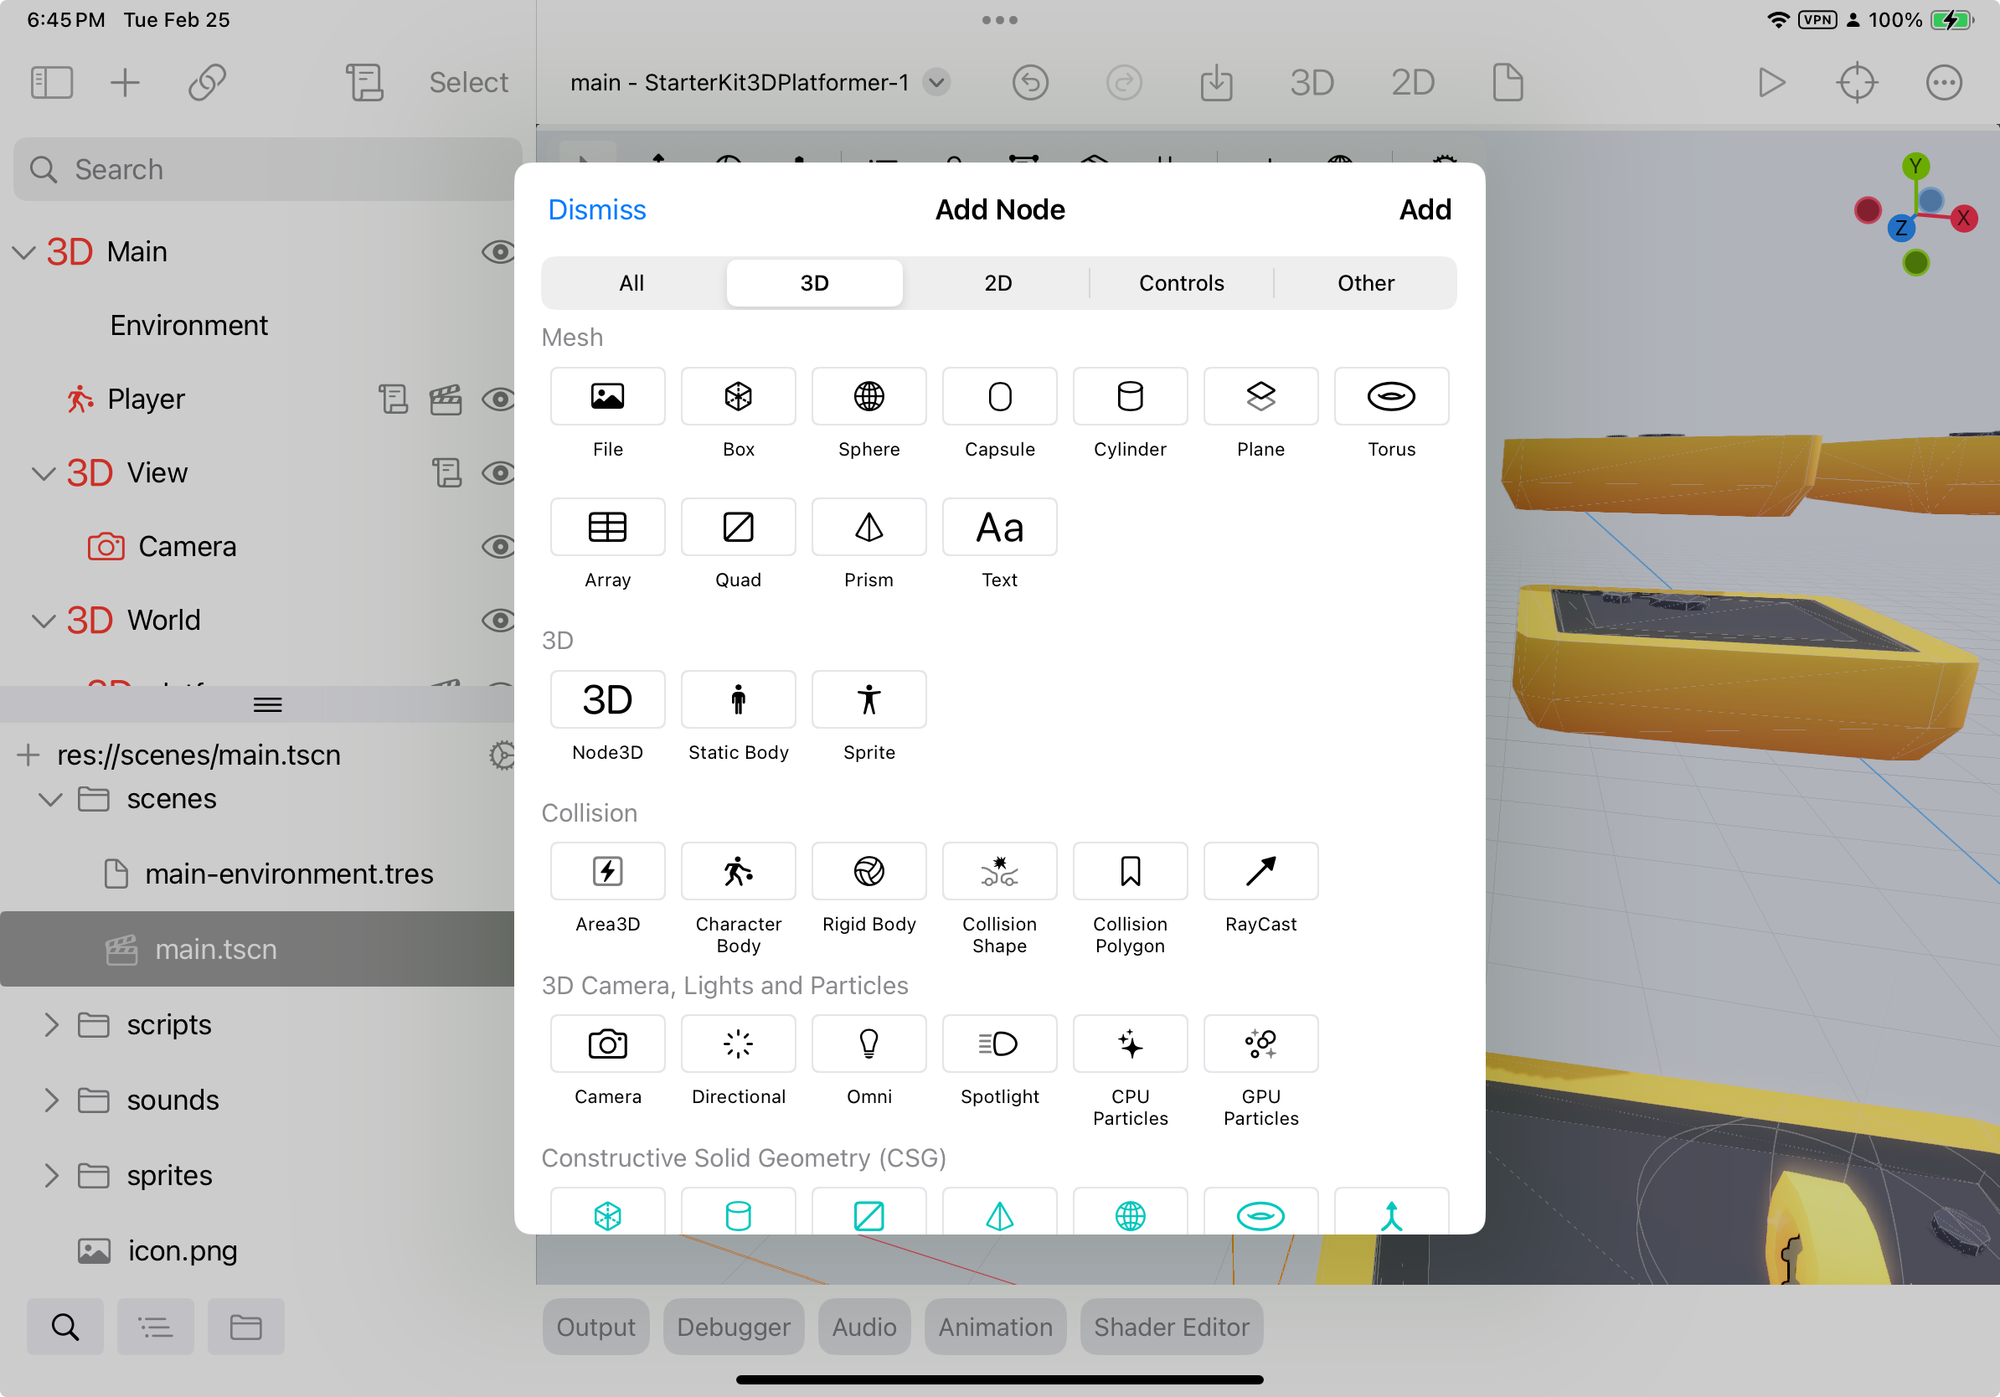
You might be tempted at this point to try something else, because clearly that did nothing. So you go looking in that dialog, for "Box" or "Sphere" and you find these CSG nodes, and you think to yourself "I found home".
Most of the time, this is not what you want. They are powerful, but slower, and not really used by developers (this is not my opinion, this is the voice of the people expressed by committing their code to public repositories on GitHub, and the essence of their lessons surfaced by cs.github.com).
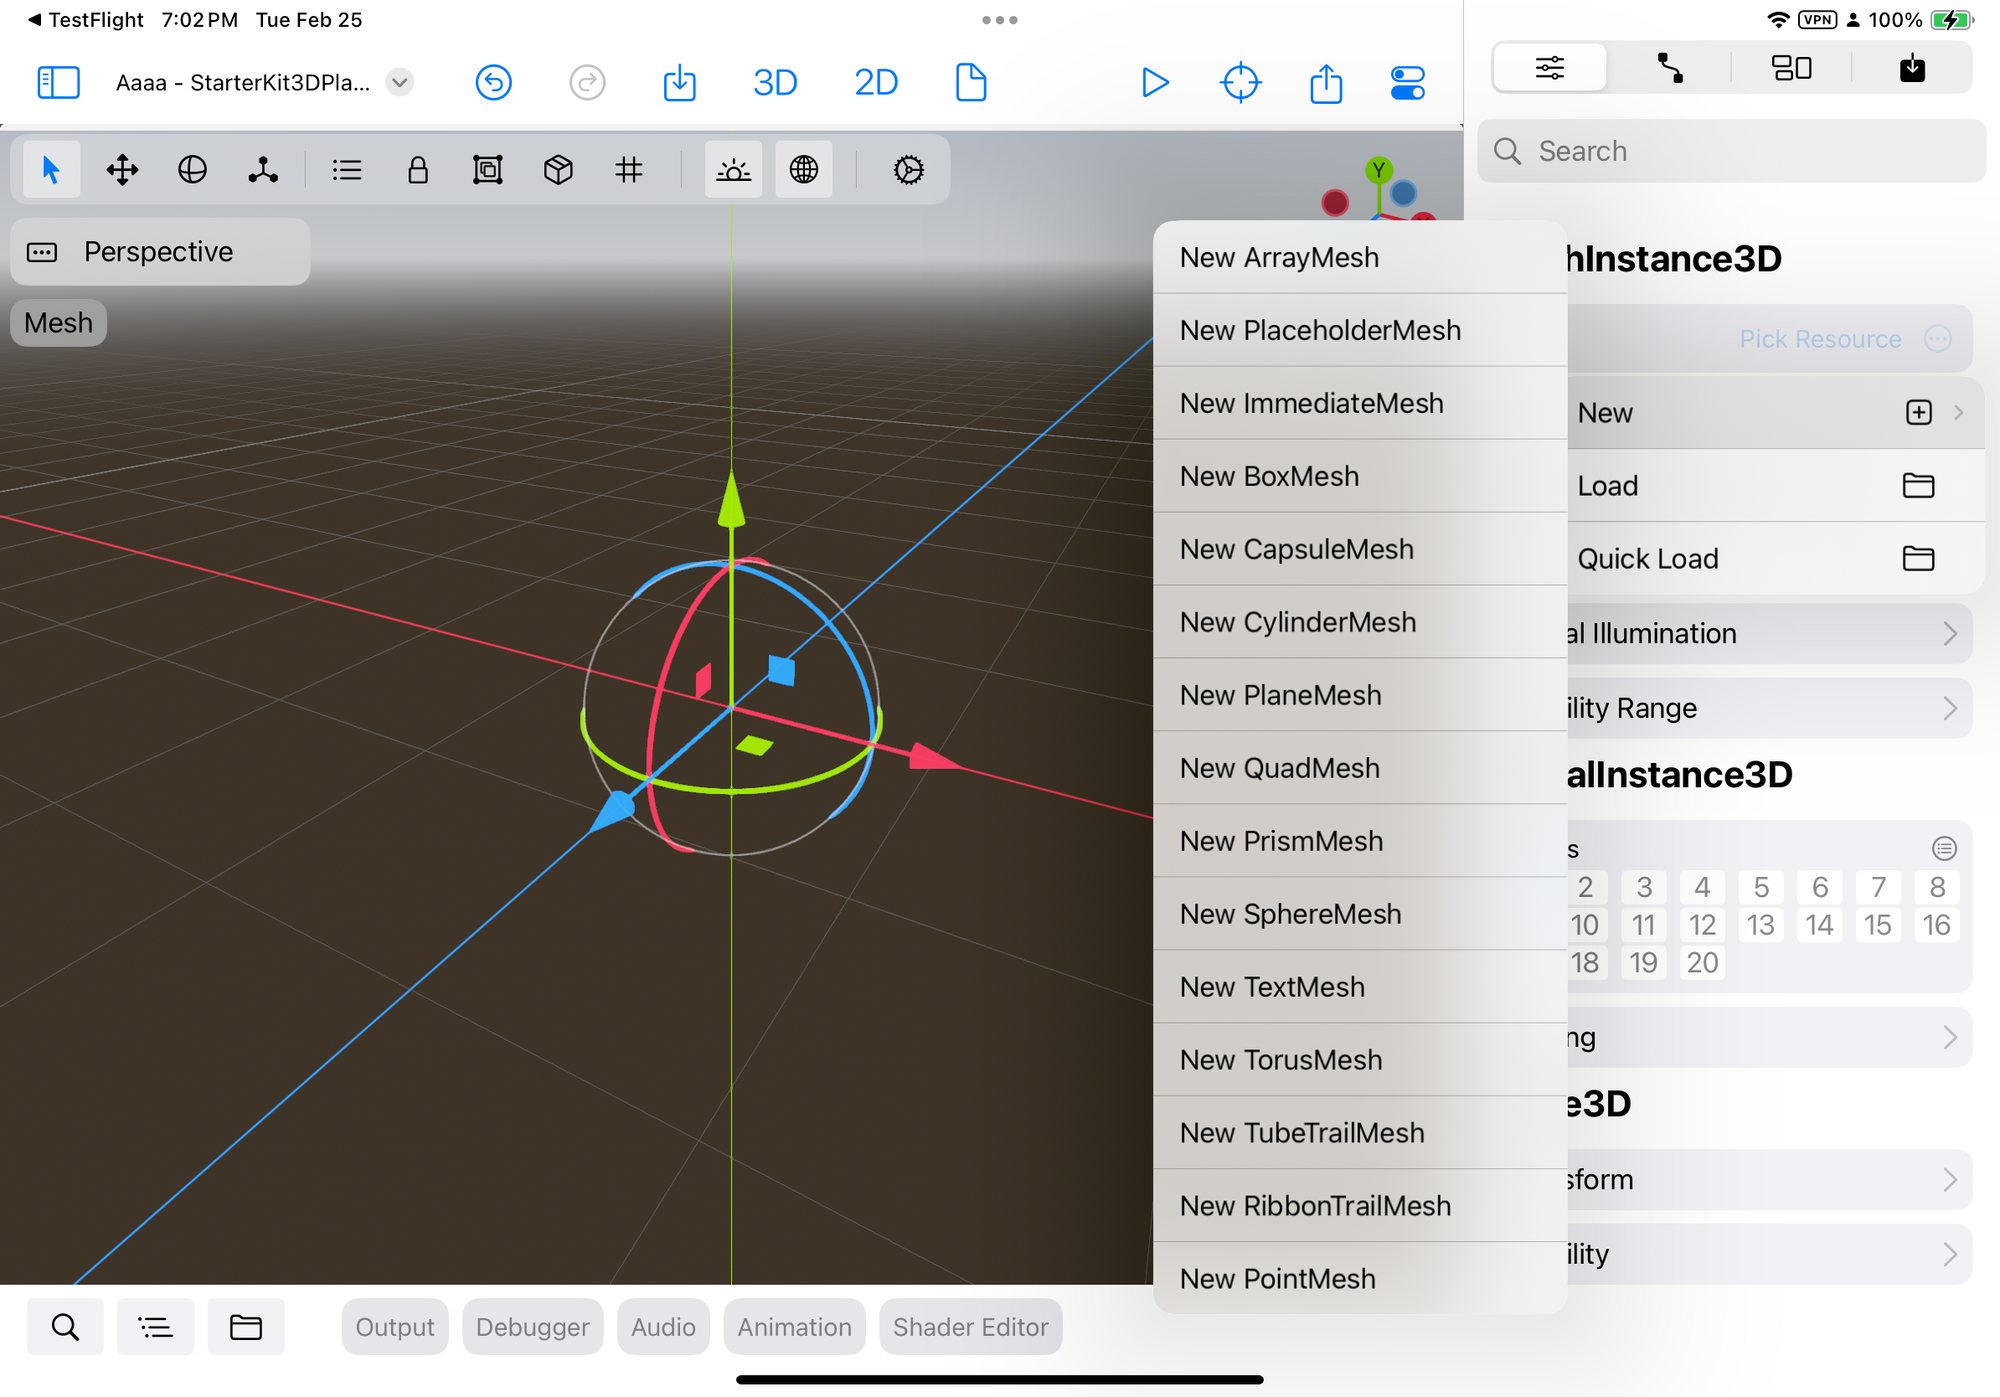
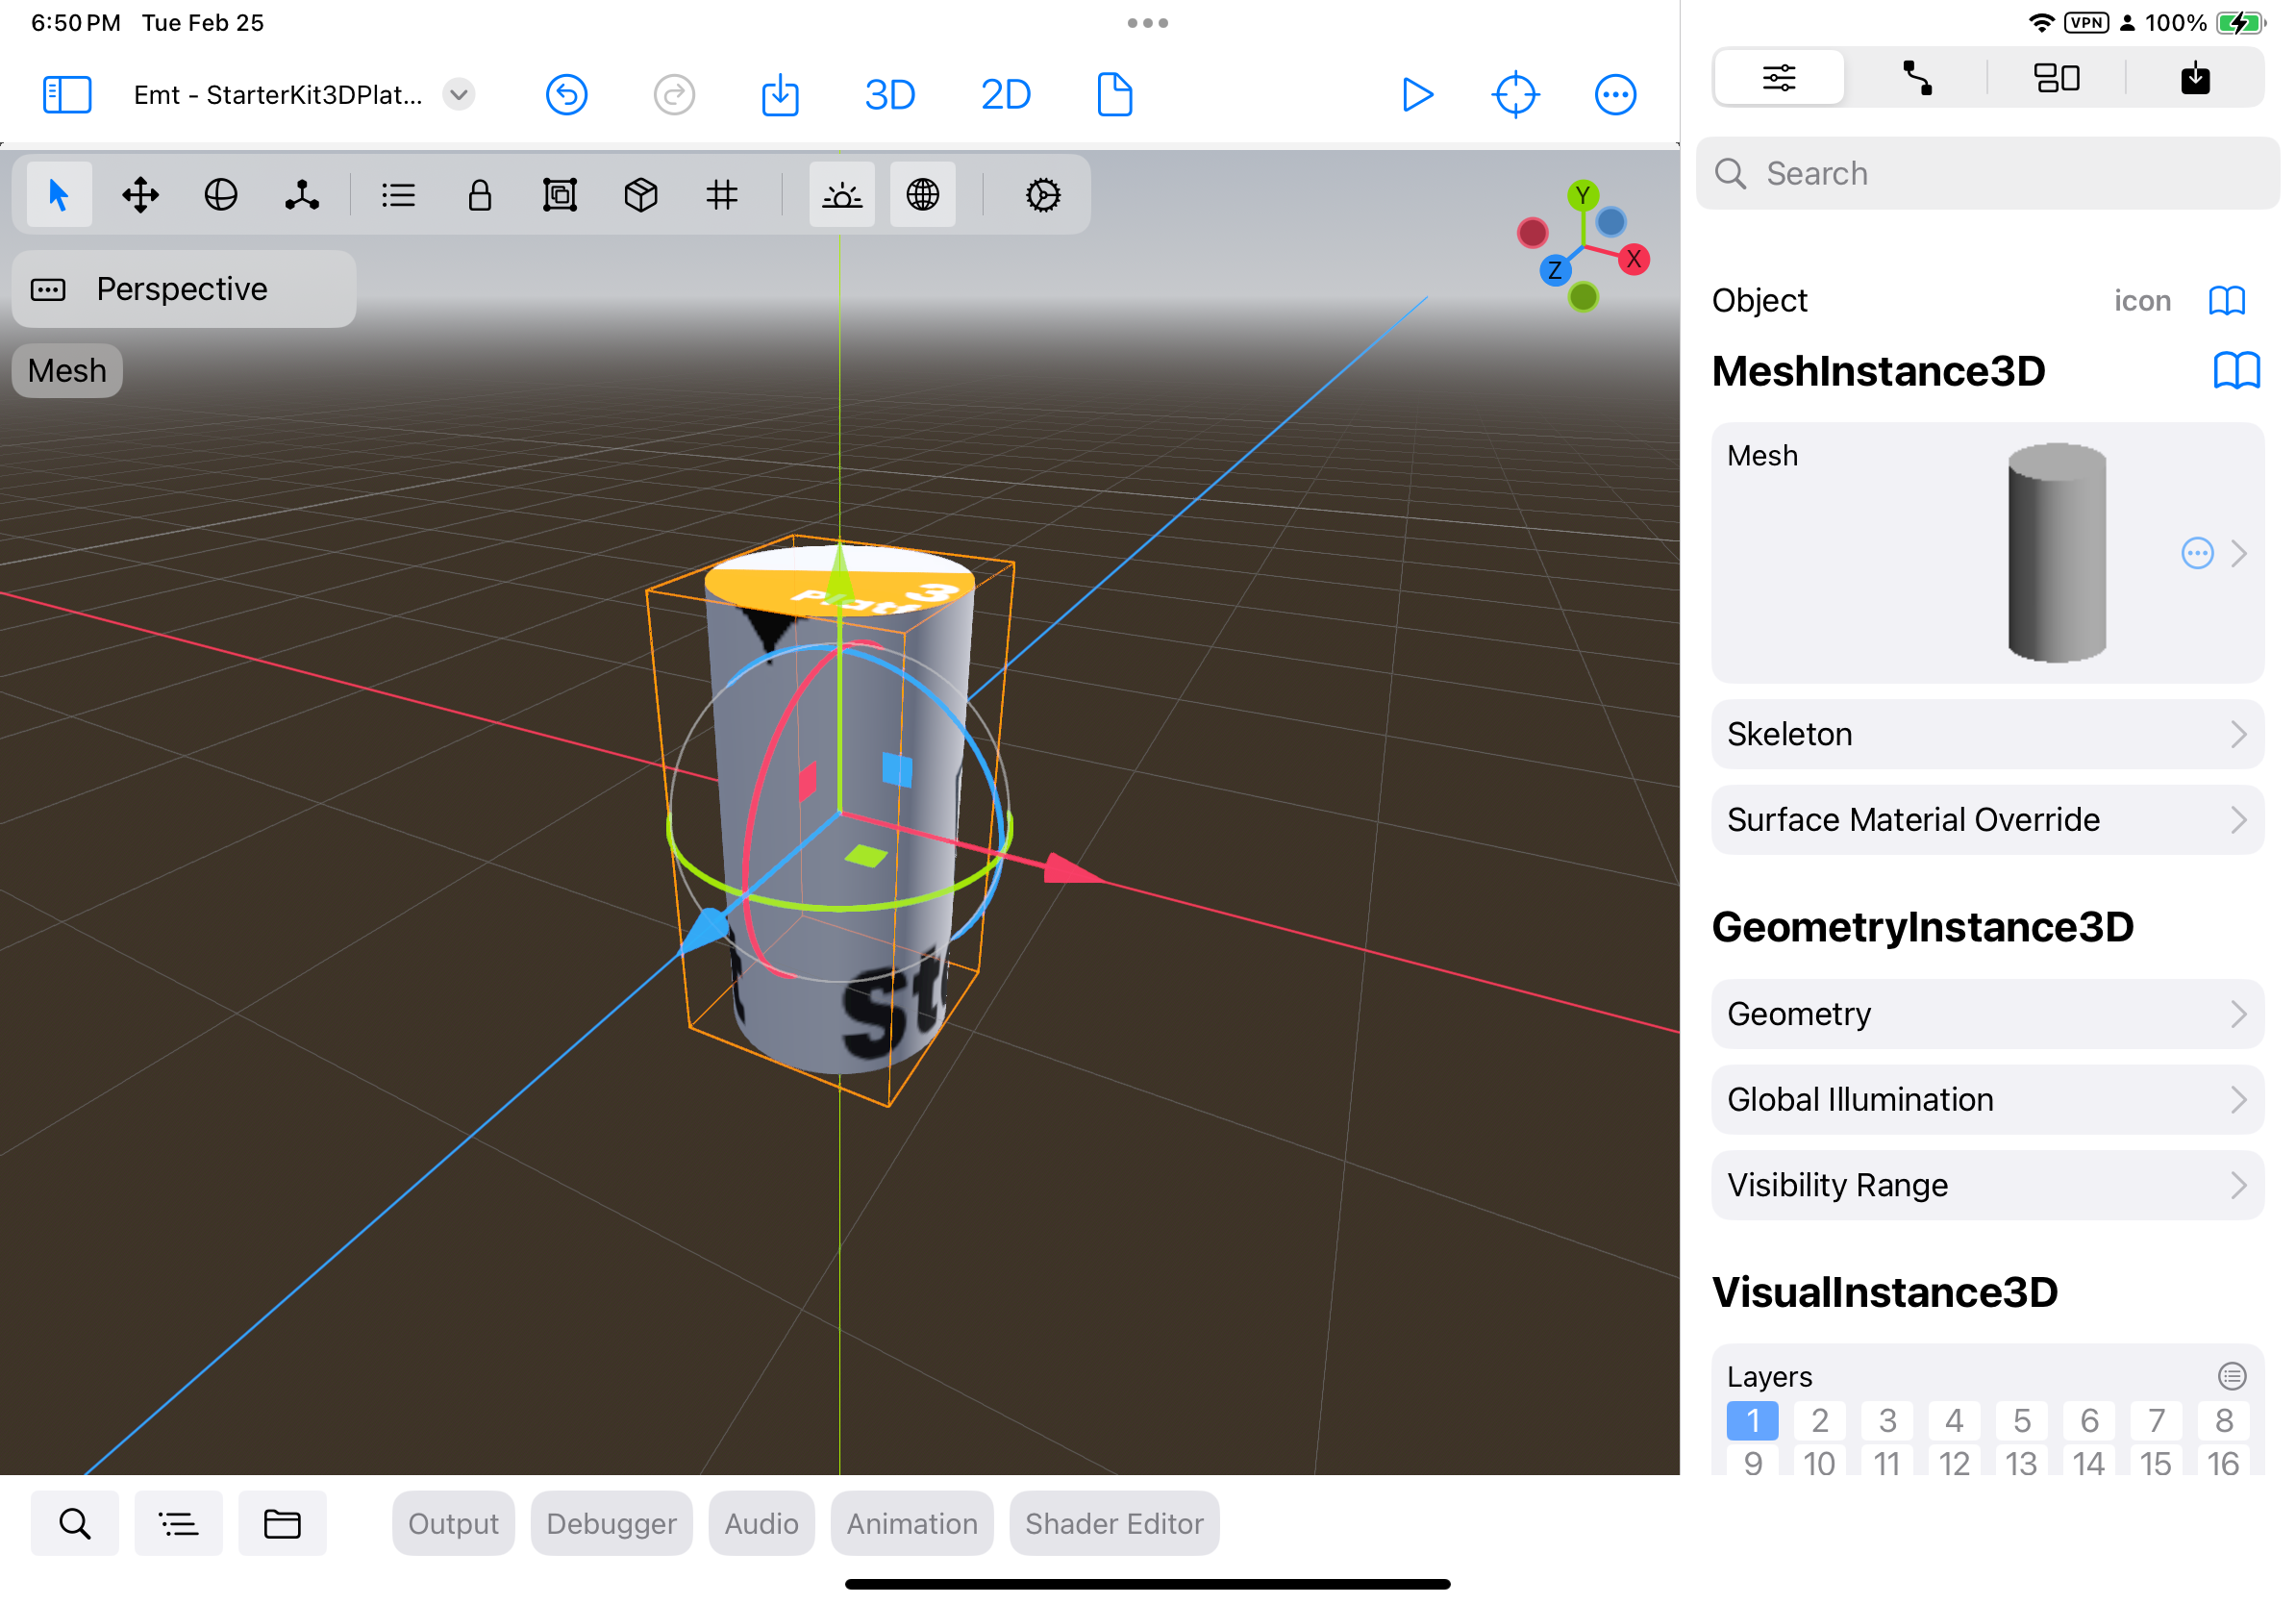
Instead, what you want is that MeshInstance3D, and then you want to set the Mesh Resource:
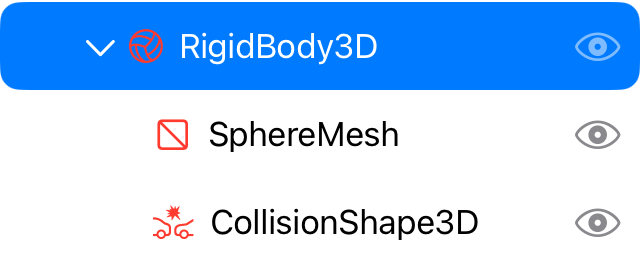
There is an added complexity, while a mesh works wonders to display something. If you want the “thing” to interact with physics, you need to pair it with a RigidBody3D or a StaticBody3D. In fact, you want to follow certain guidelines, like creating a RidigBody and then adding both child mesh and a CollisionShape3D. Godot's components are composed very nicely and are very powerful, but you need to learn how to put these things together.
One day, my son asked me for some help with Roblox Studio. When I saw how to use it, I immediately fell in love with the ease of adding 3D nodes to the scene. Their main entry point is these 3D models, which you can further customize.
Since then, I have wanted something that could help newcomers to Godot on iPad get a quick win: help users overcome the steep learning curve and get them moving and placing things on the scene. I had prototyped what the dialog would look like but did not quite know what to put in there:
I was stuck trying to figure out "what should go where and how". This weekend, I finally decided to do something about it. As I started organizing the contents, I decided to use GitHub’scode search to count just how many instances of each node were used in the wild, and after a few hours methodically going through every node (and automation did not quite help), I had a good roadmap of what mattered, and what did not - and used this information to group and prioritize.
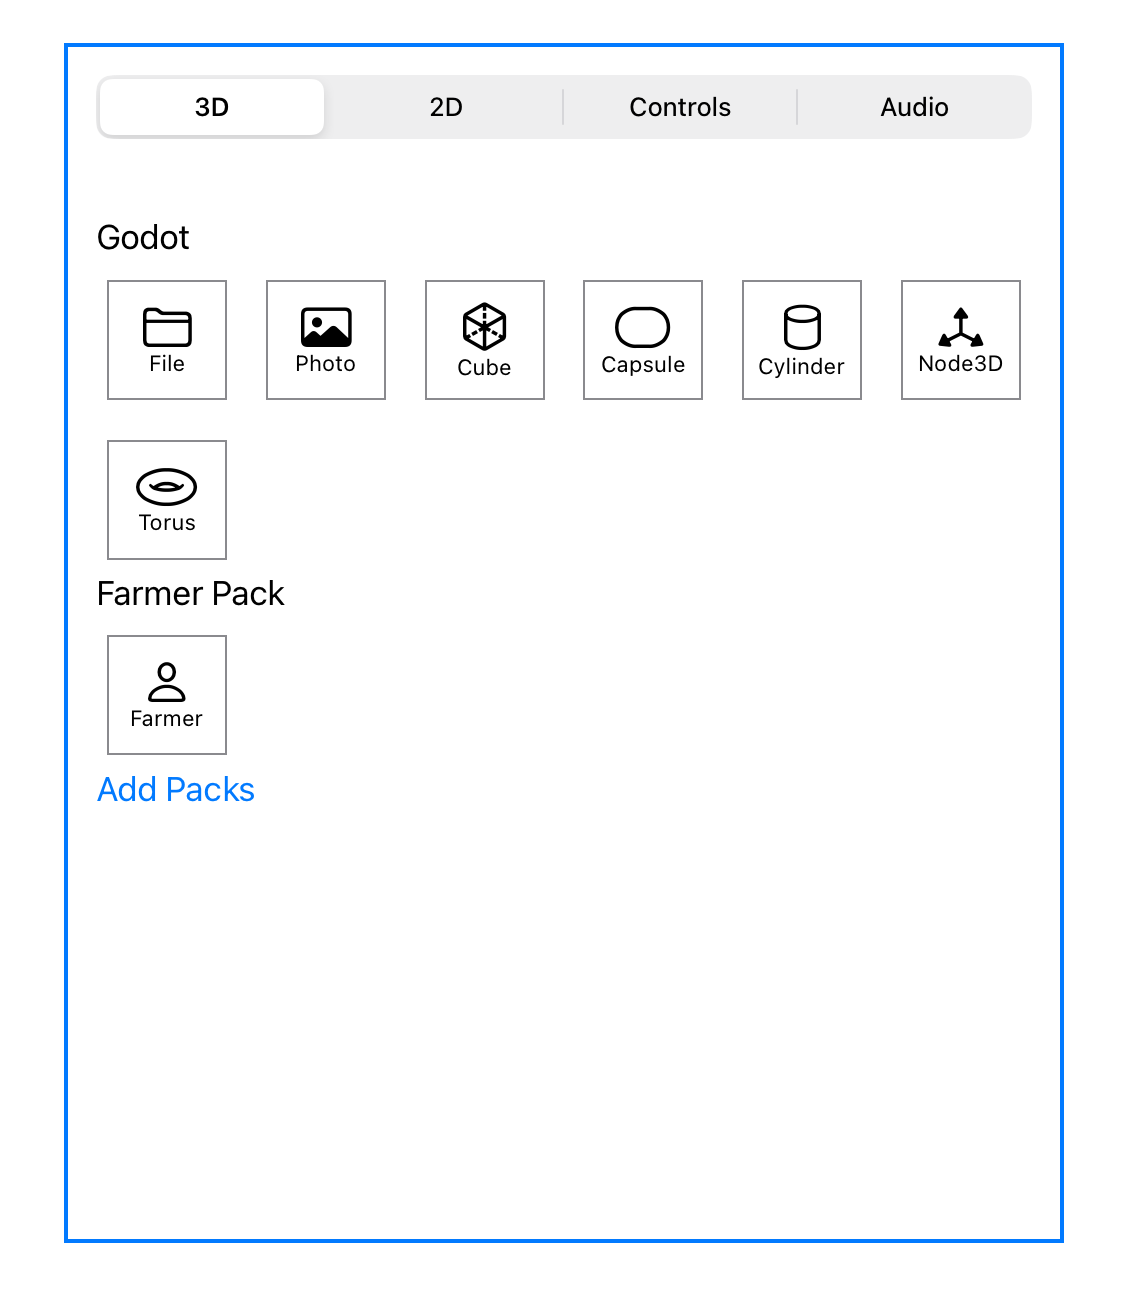
This is what I came up with:
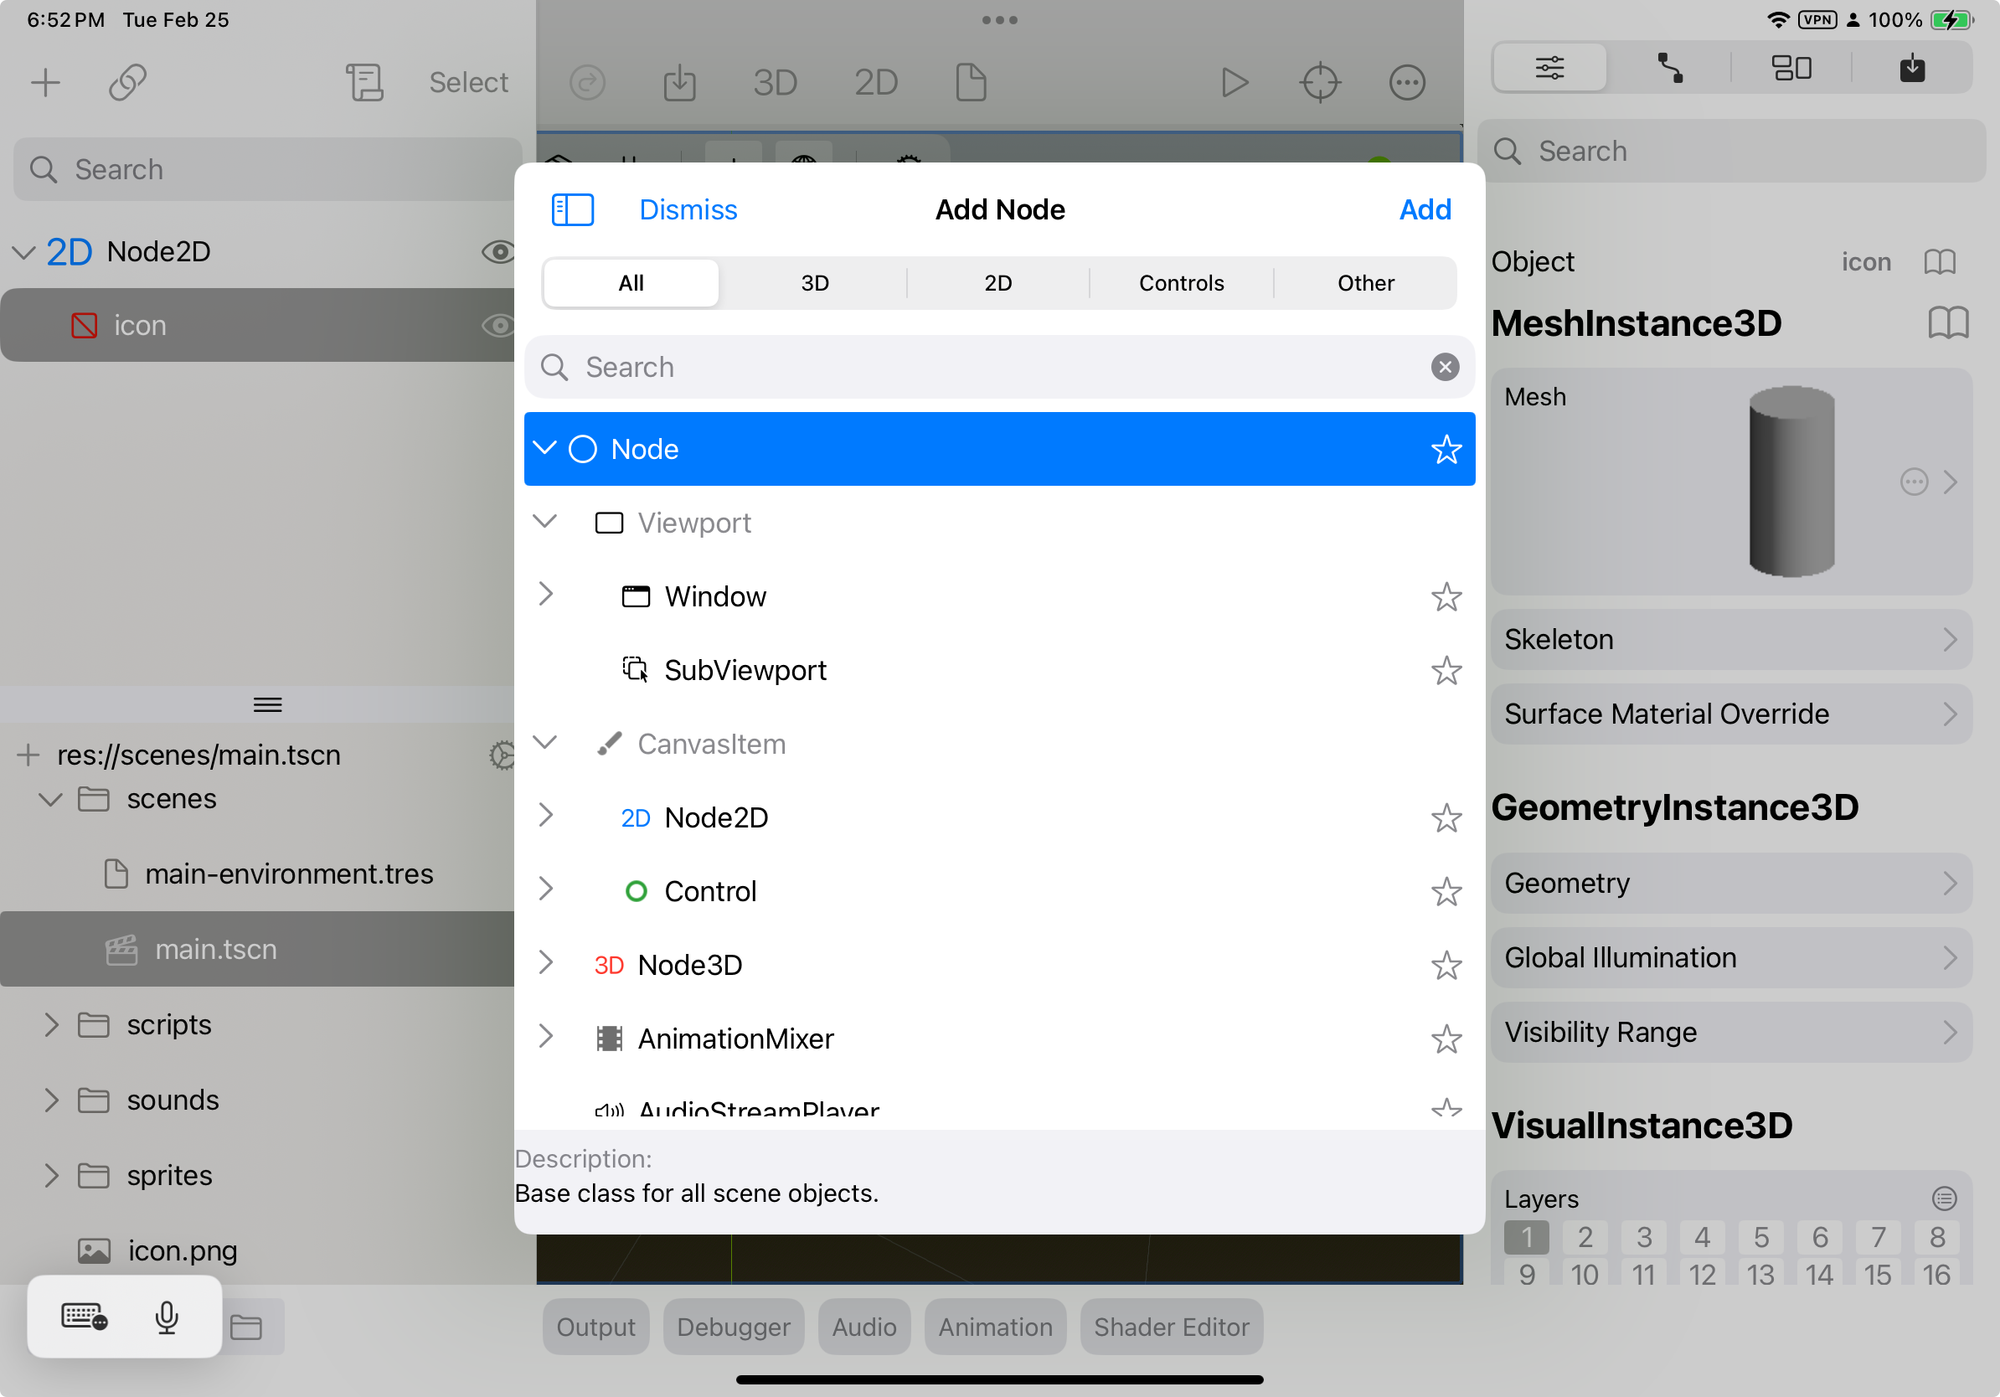
The “All” tab merely falls back to the complete list of every node available in Godot, organized by object inheritance. I added some smarts. If you select a node from "All" this will remain the default location when you open the dialog, otherwise it will select the 3D, 2D or Control page depending on the currently selected object, or the 2D/3D view you have active.
But the 3D, 2D and Control tabs are organized by category, and they mostly serve as an organized way of picking a node type.
The 3D one is special, this is where I took some artistic liberties:
The objects listed under “Mesh” are not real Godot nodes. They are macros to create more complex structures. For example, I originally struggled just displaying an image in my 3D scene. You can certainly Google your way to it. Still, you need to learn about Material Overrides, ImageTextures, finding out that this needs to go into the Albedo property, that you need to hunt for it, and probably that this will live in a QuadMesh.
A lot.
Instead, the “File” option here lets you pick a file, and it does the rest for you:
The other “Mesh“ elements are just as interesting; when you tap the “Add” button, I prompt you for an extra bit of information: do you want a mesh (you just want to display the object), do you want to create a StaticBody or a RigidBody? And if you pick the last two, this will create the proper structure for you:
You can still configure any of the above by using the inspector, like changing the image to wrap a different mesh:
Or you can change any collision properties, but I wanted to give users a quick win, something that would get them up and running in Godot and postpone the learning on the Albedo and the overrides for another day.
Astute readers will have noticed that Roblox Studio does allow for simple texture and color setting of an object - vastly simpler than what you have to do in Godot, and this blog posts not offered a solution. The reason is that I have not figured out what the user interface for it should be - but believe me, that gap in my story is keeping me awake. Stay tuned.
While this was prototyped for Xogot, I hope that some of these concepts or a variation of these is incorporated back into Desktop Godot. If you want to try this out on the iPad today, you can sign up for Xogot beta in TestFlight.