Part 7: Project Settings
This post continues the series on creating an iPad-native UI for Godot using SwiftUI.
Once Godot's main user interface elements were rewritten into SwiftUI, I looked for the next high-traffic target and landed on the Project Settings dialog. My original intent was to ship Godot on iPad with just the core-shell elements ported to SwiftUI, but the more I used Godot on the iPad, the more I felt I owed users a better experience.
I have gone from some 20 tasks to launch to about 200, with 130 tasks left before it ships. But do not worry—I am not working on this alone. We are now a team of five software developers working on this, and big chunks of work are completed every week.
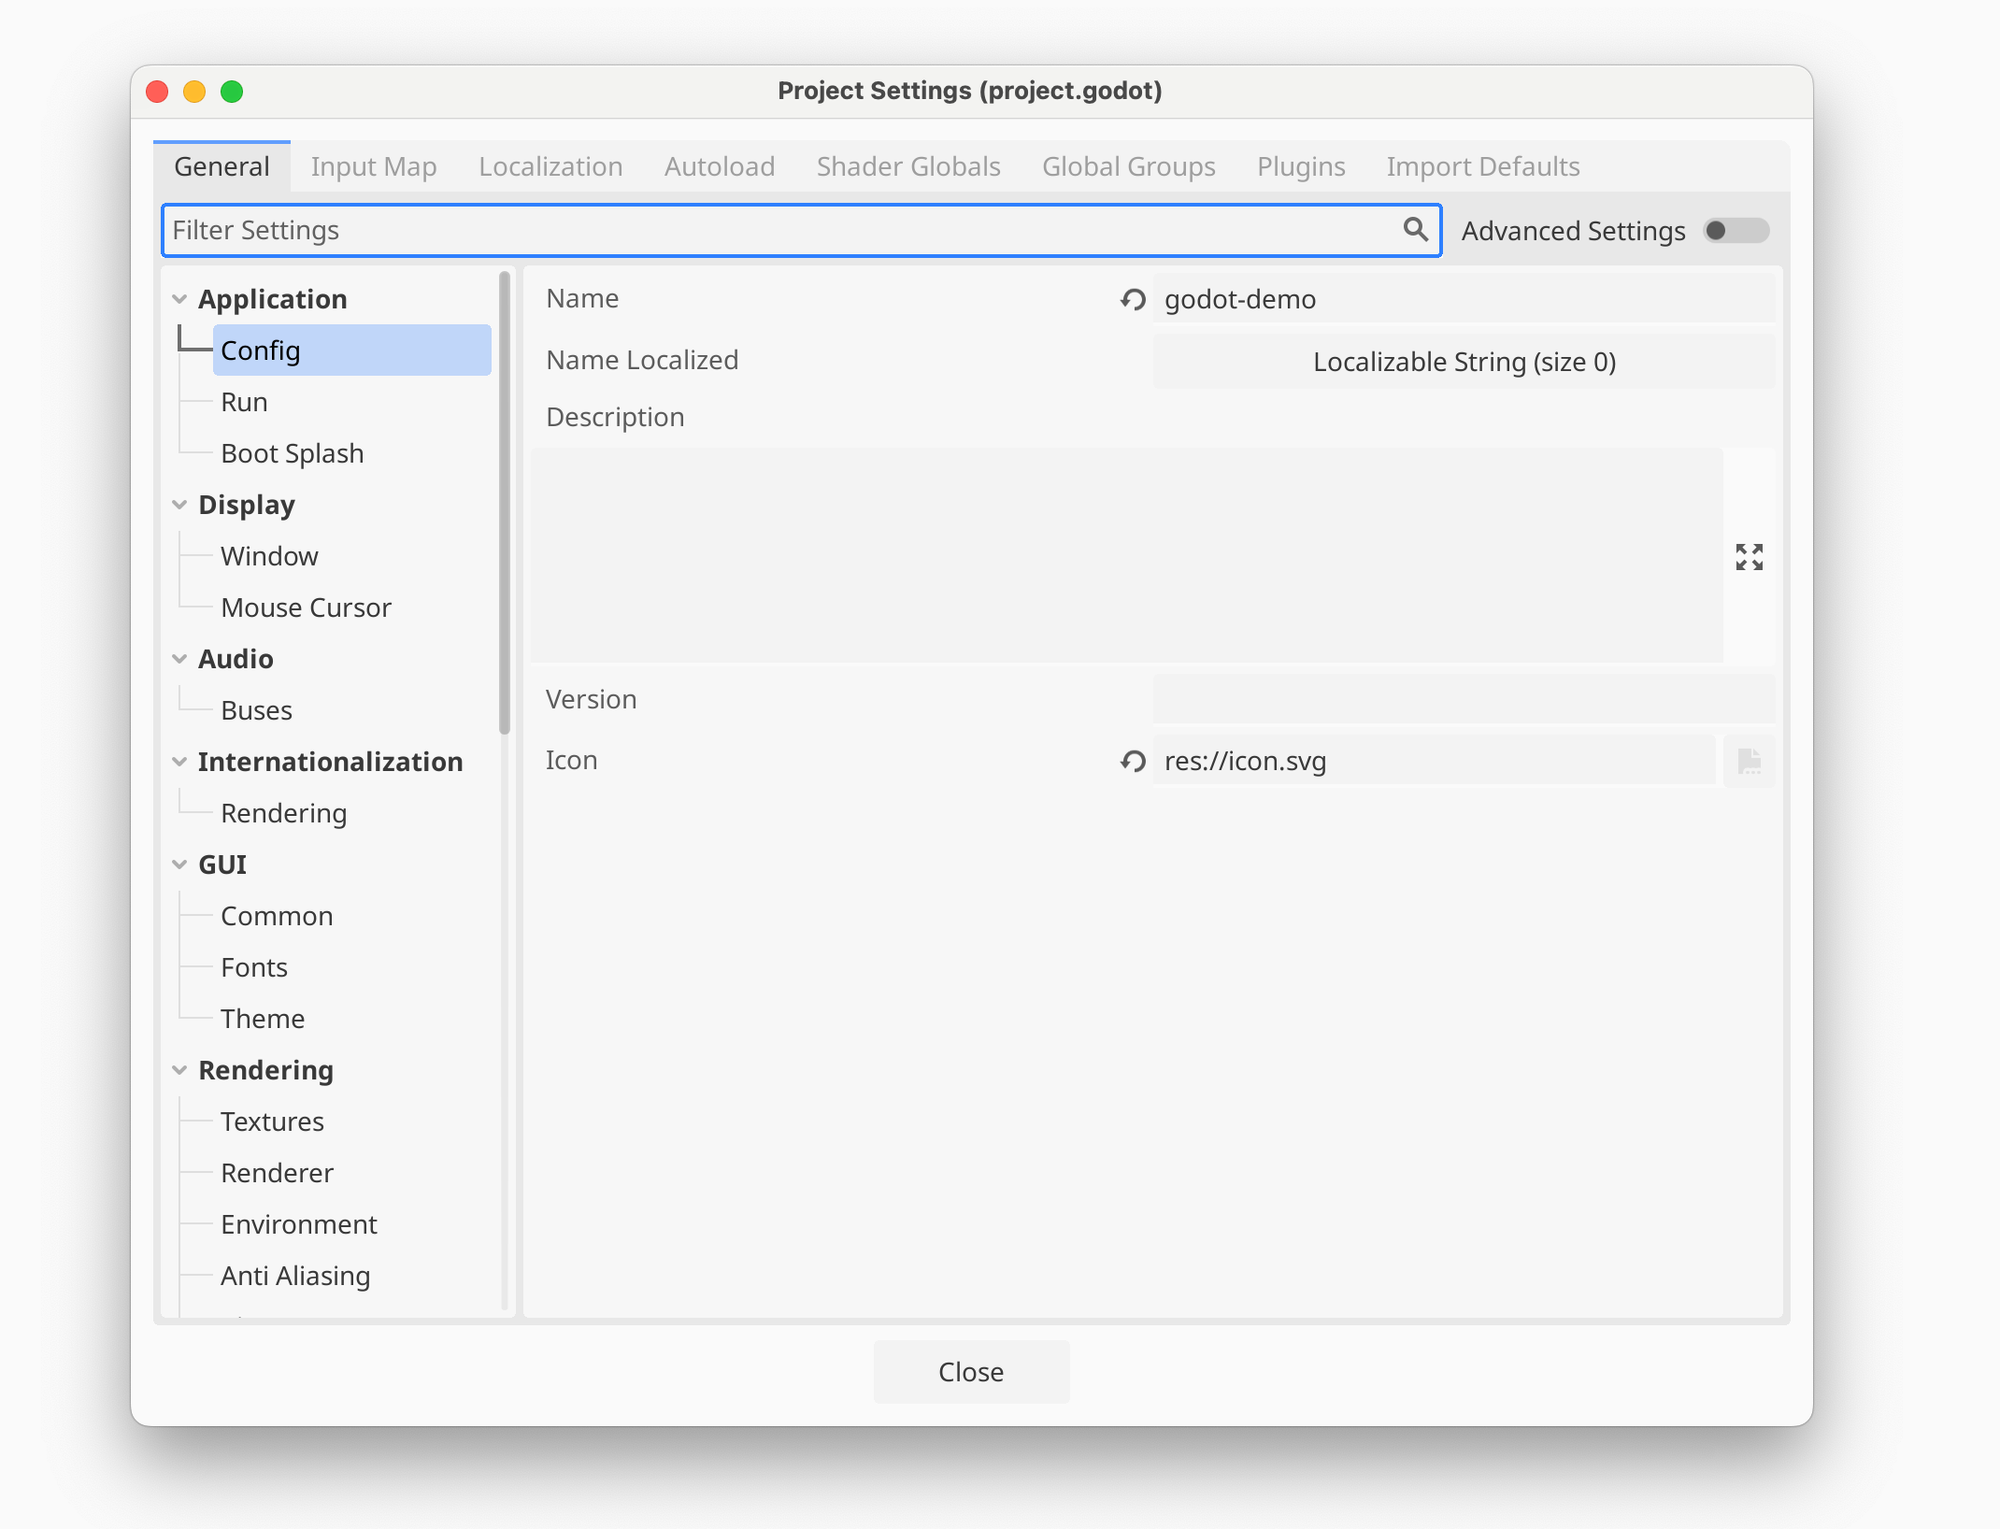
The navigation is done via tabs at the top to customize different project-level capabilities. When you start up, you land on the general tab that shows a tree navigation structure on the left to configure options and a pane on the right with those options:
This is what it looks like:
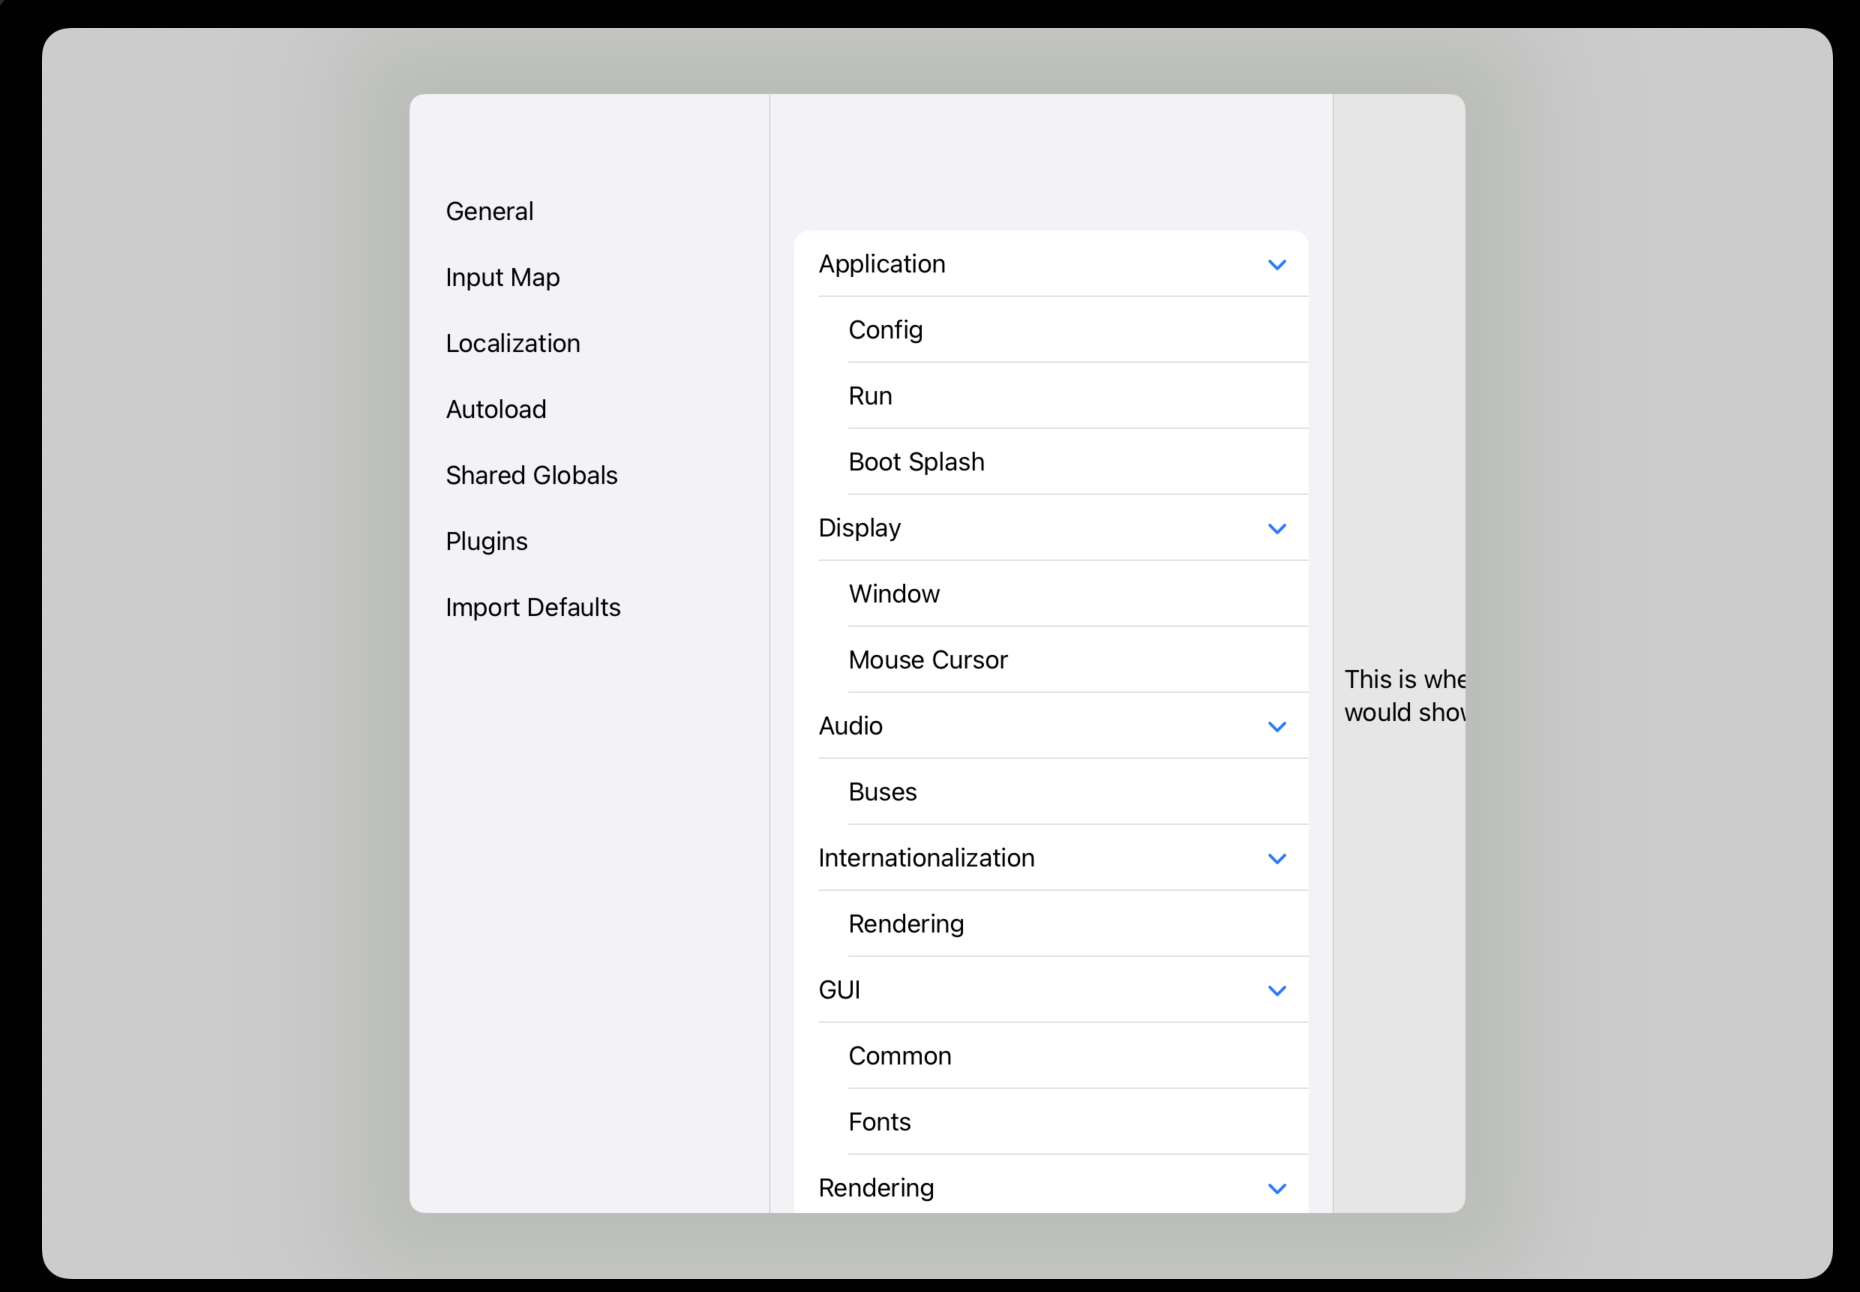
My challenge was to develop it into a UI that would work with an iPad sheet. My idea was to use a SwiftUI NavigationSplitView, and I first tried to map the tabs at the top into a tree structure on the left and to push the content on demand:
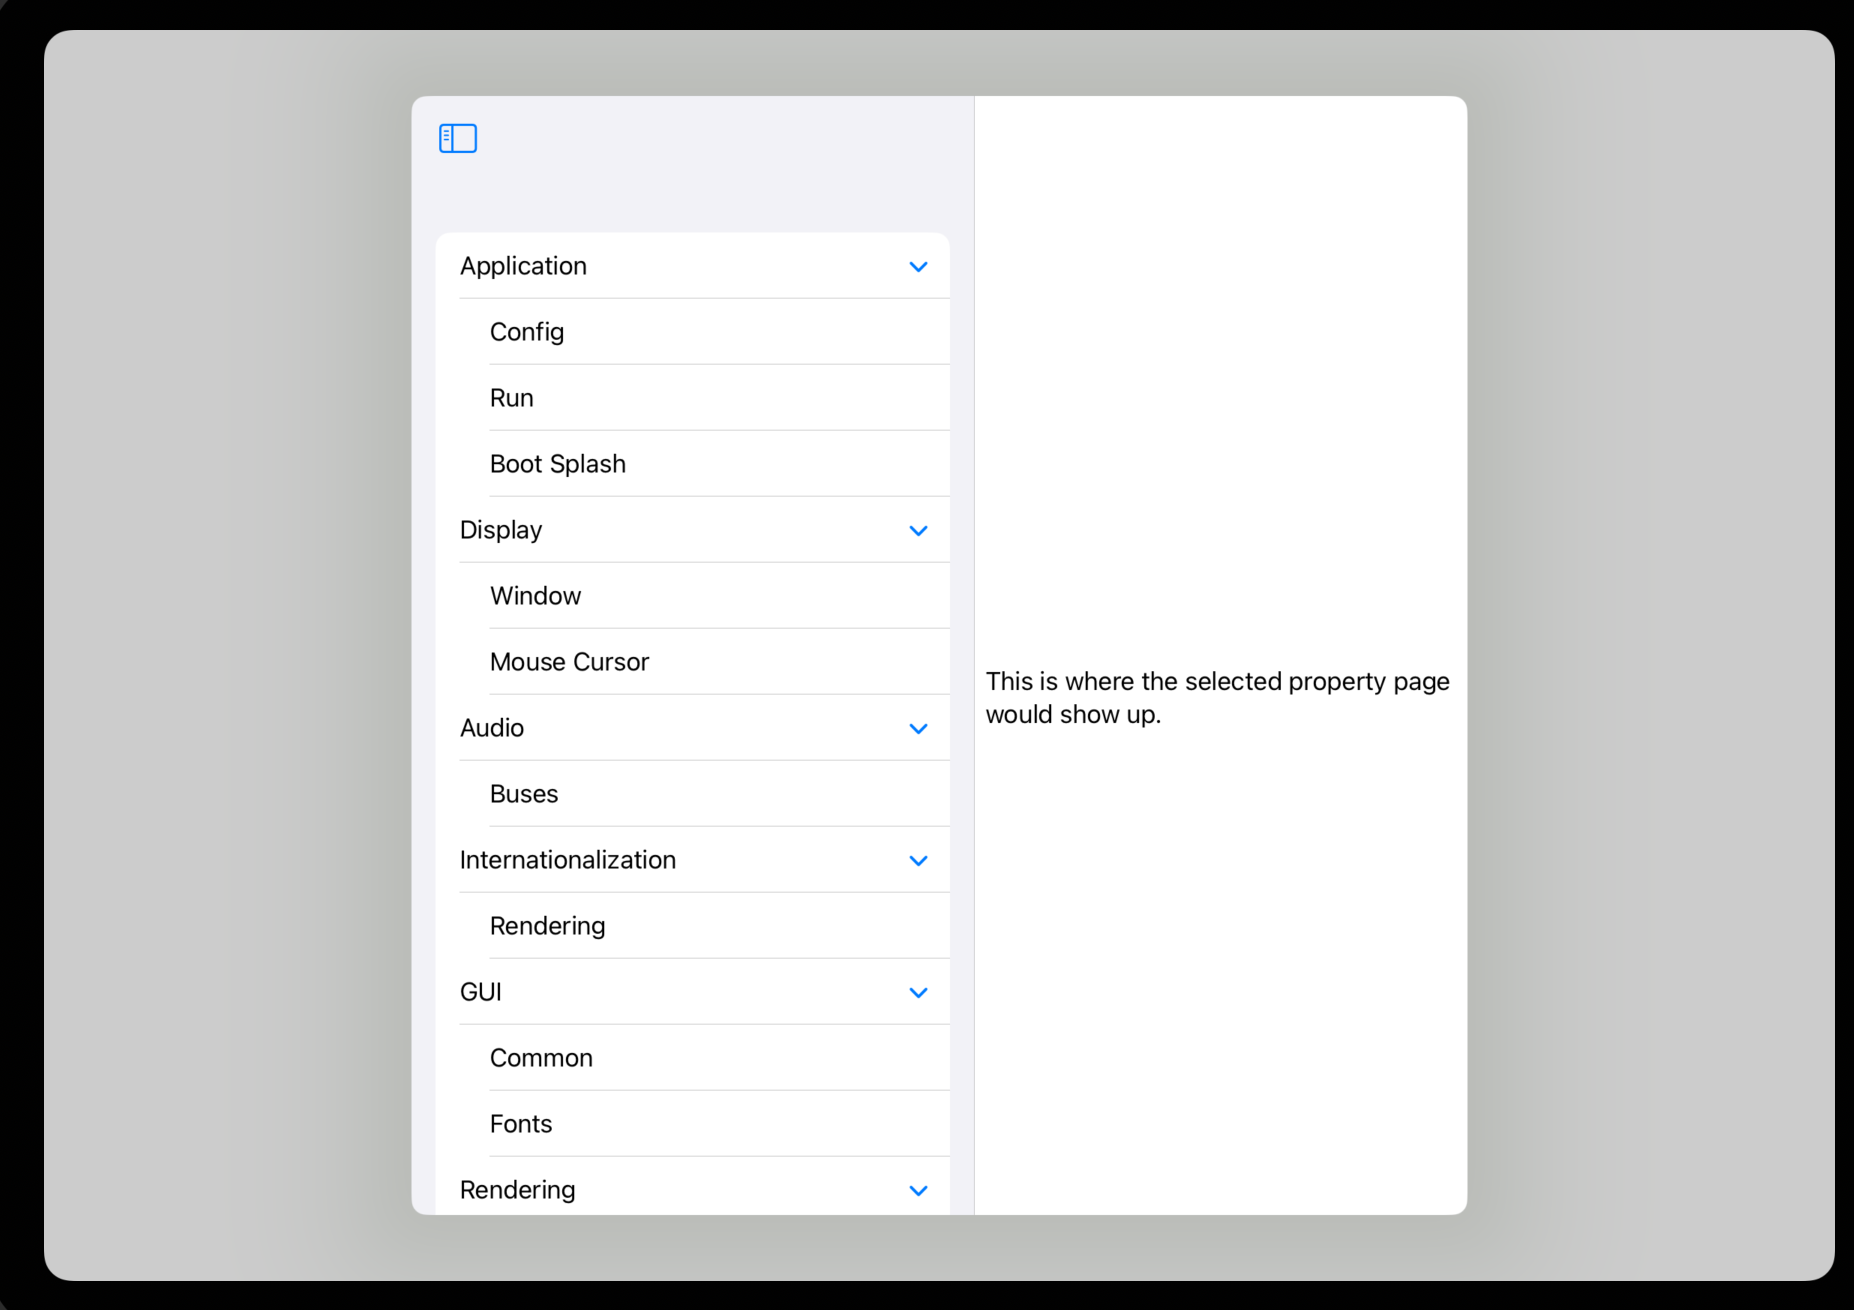
But that did not feel right. I also tried the grouped styling for the left bar to mimic the iPadOS Settings view:
I was not sold on either the look or the navigation. Instead, I borrowed an idea from the Document model on iPad and introduced a menu drop-down for the user to pick their destination, like this:

When the user taps on that menu entry, they can select the page they want to navigate to, like this:

In practice, this works well with the iPad. Once an option is selected, I generally use the left side for navigation and the right side for main content.
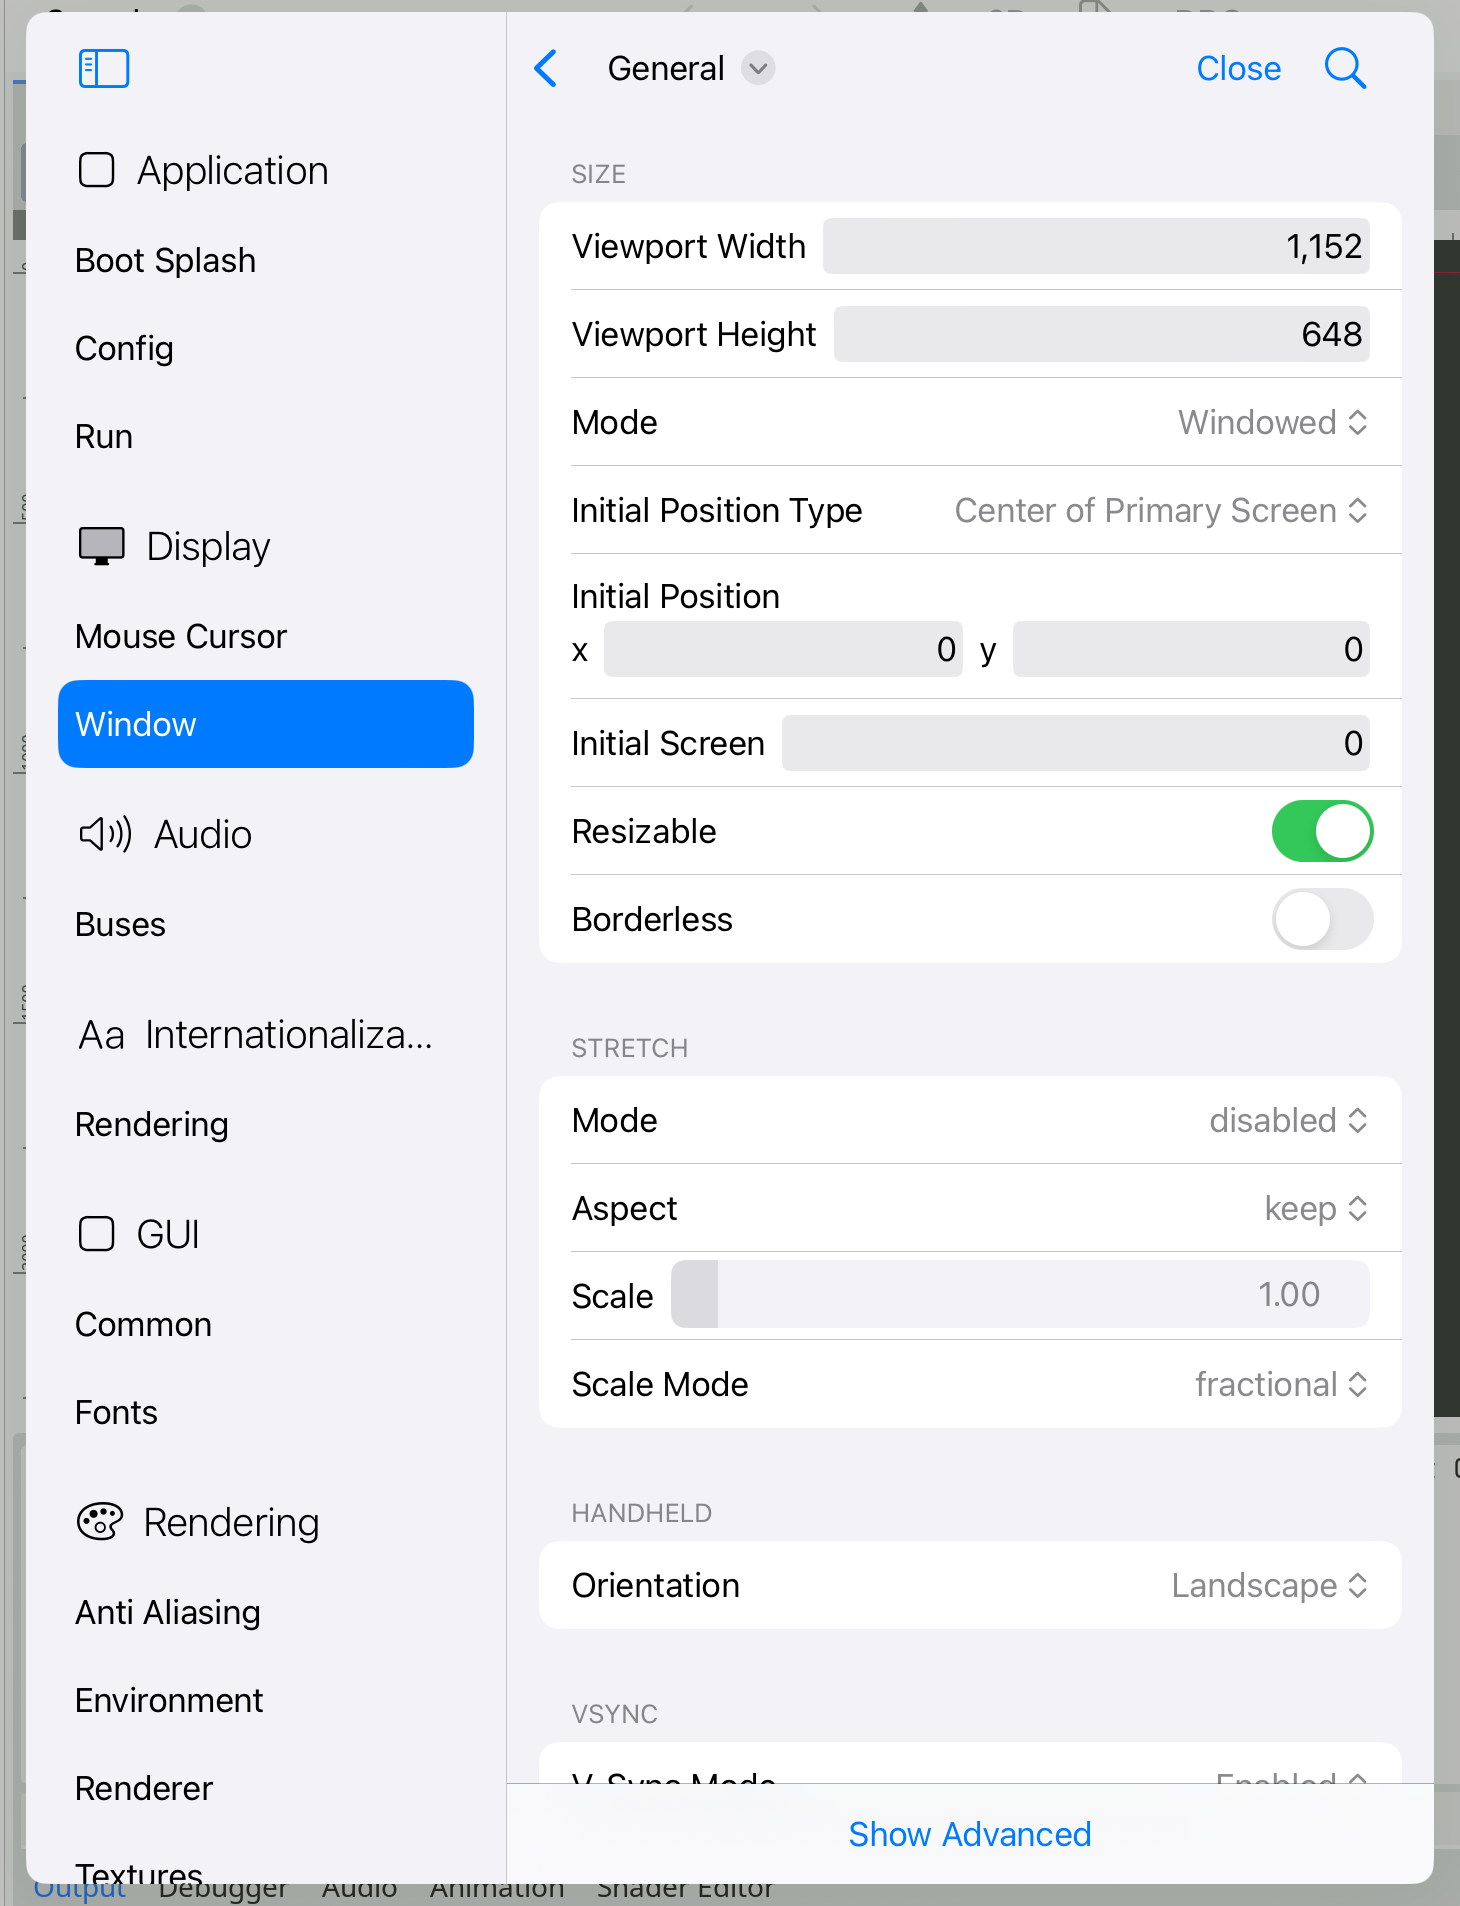
The General tab looks like this now:
Behind the scenes, Godot reuses its existing property editors for its core data types (Variants) to display this user interface. So, I did the same thing: I reused the Inspector code to edit those properties, the only difference being the backend system it uses. The Inspector modifies a Godot Object directly, while the properties talk to the Godot Project Settings backend.
The tree in the original Godot settings is shown as a SwiftUI list with sections.
SwiftUI makes implementing searching very simple, and it integrates it right into the user interface. What is nice about the SwiftUI code is that I only have to filter the data based on the typed text, and SwiftUI only shows the relevant information. The filtering code processes the tree structure, filters all the matching elements, and produces a new tree structure:
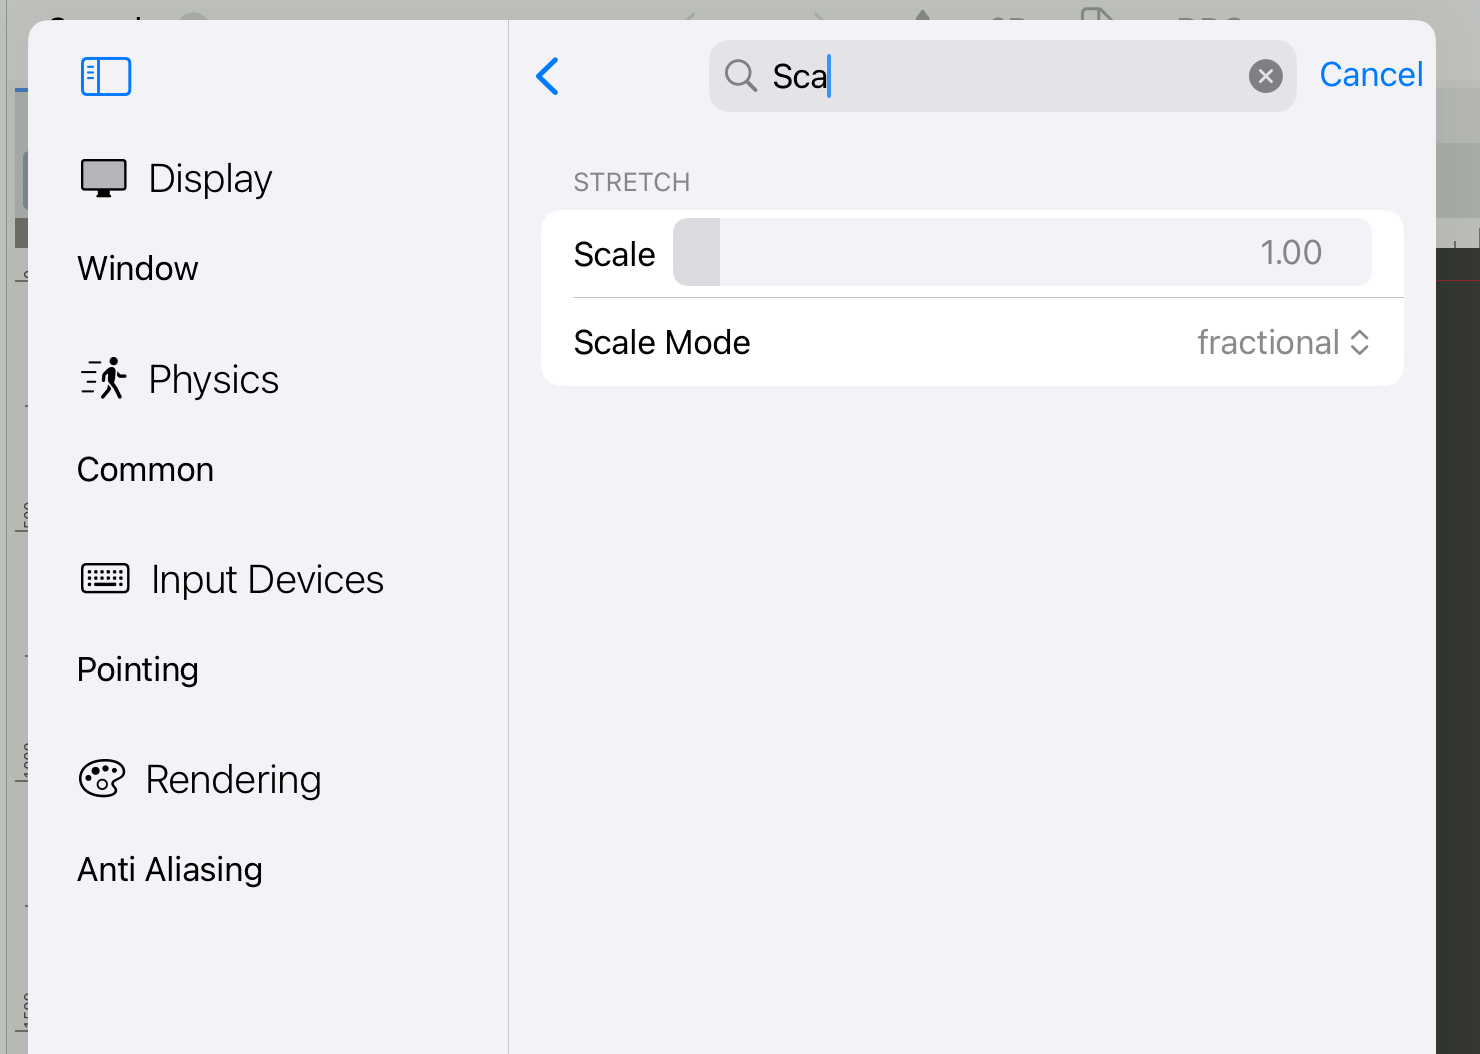
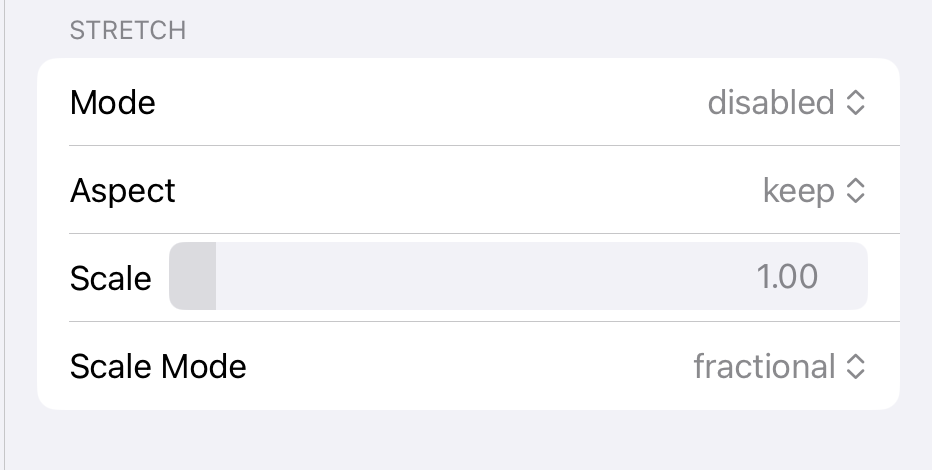
Given that we have more horizontal space in the Project Settings compared to the Inspector, some elements are rendered differently; see the Vector editors in Project Settings vs the Inspector:
Sliders are also rendered differently, with limited horizontal space in the inspector, we put the label inside the slider, like this
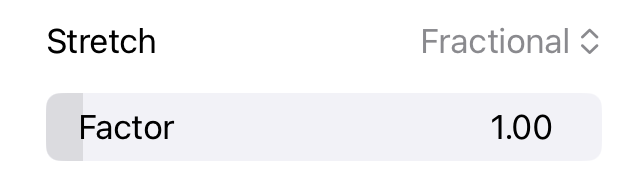
With the luxury of additional space in the Project Settings, a LabeledContent gets gets the job done:
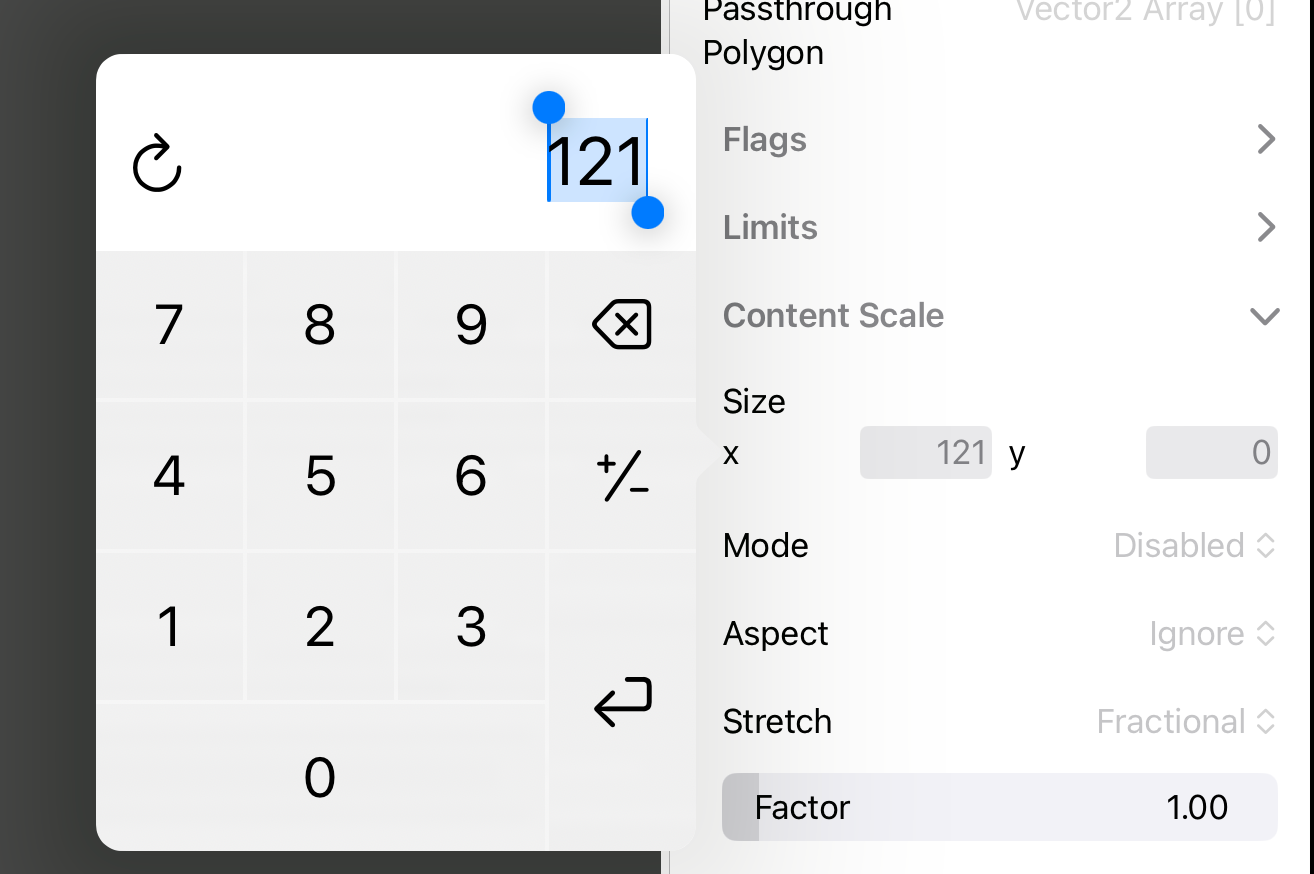
For the convenience of users, editing numbers on the inspector shows a custom data entry UI when tapped:
Import Settings
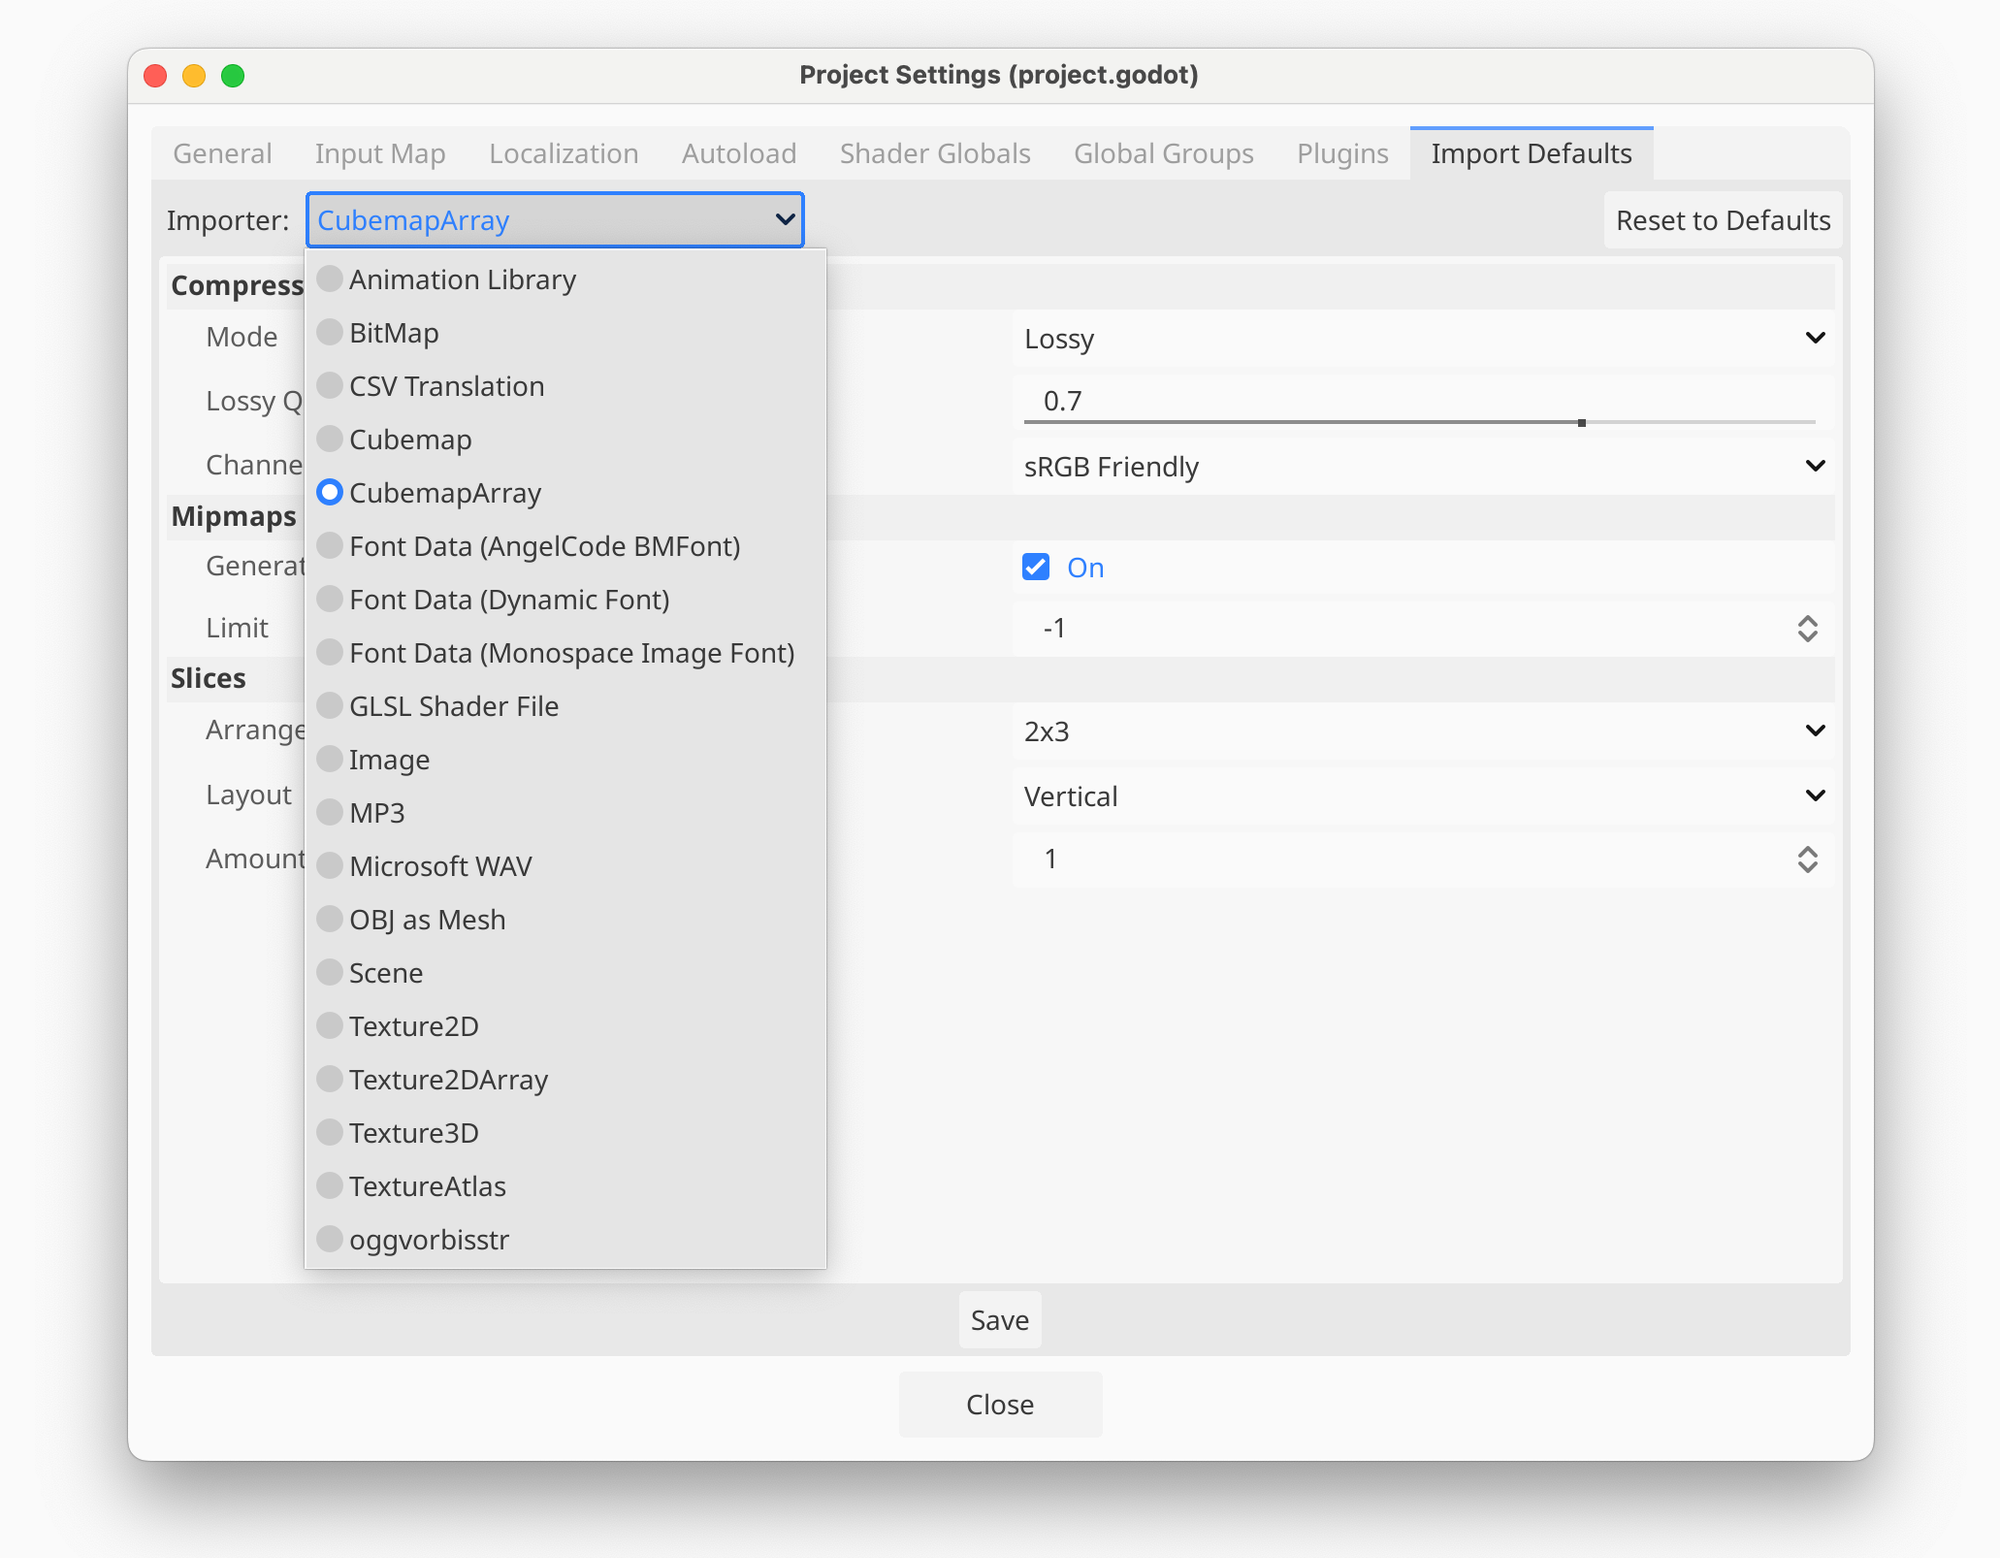
The original Godot Import Settings uses a popup to select the importer that you want to configure, which looks like this:
Since I had the navigation sidebar on the left available, I replaced that drop-down button with a SwiftUI list navigation on the left:
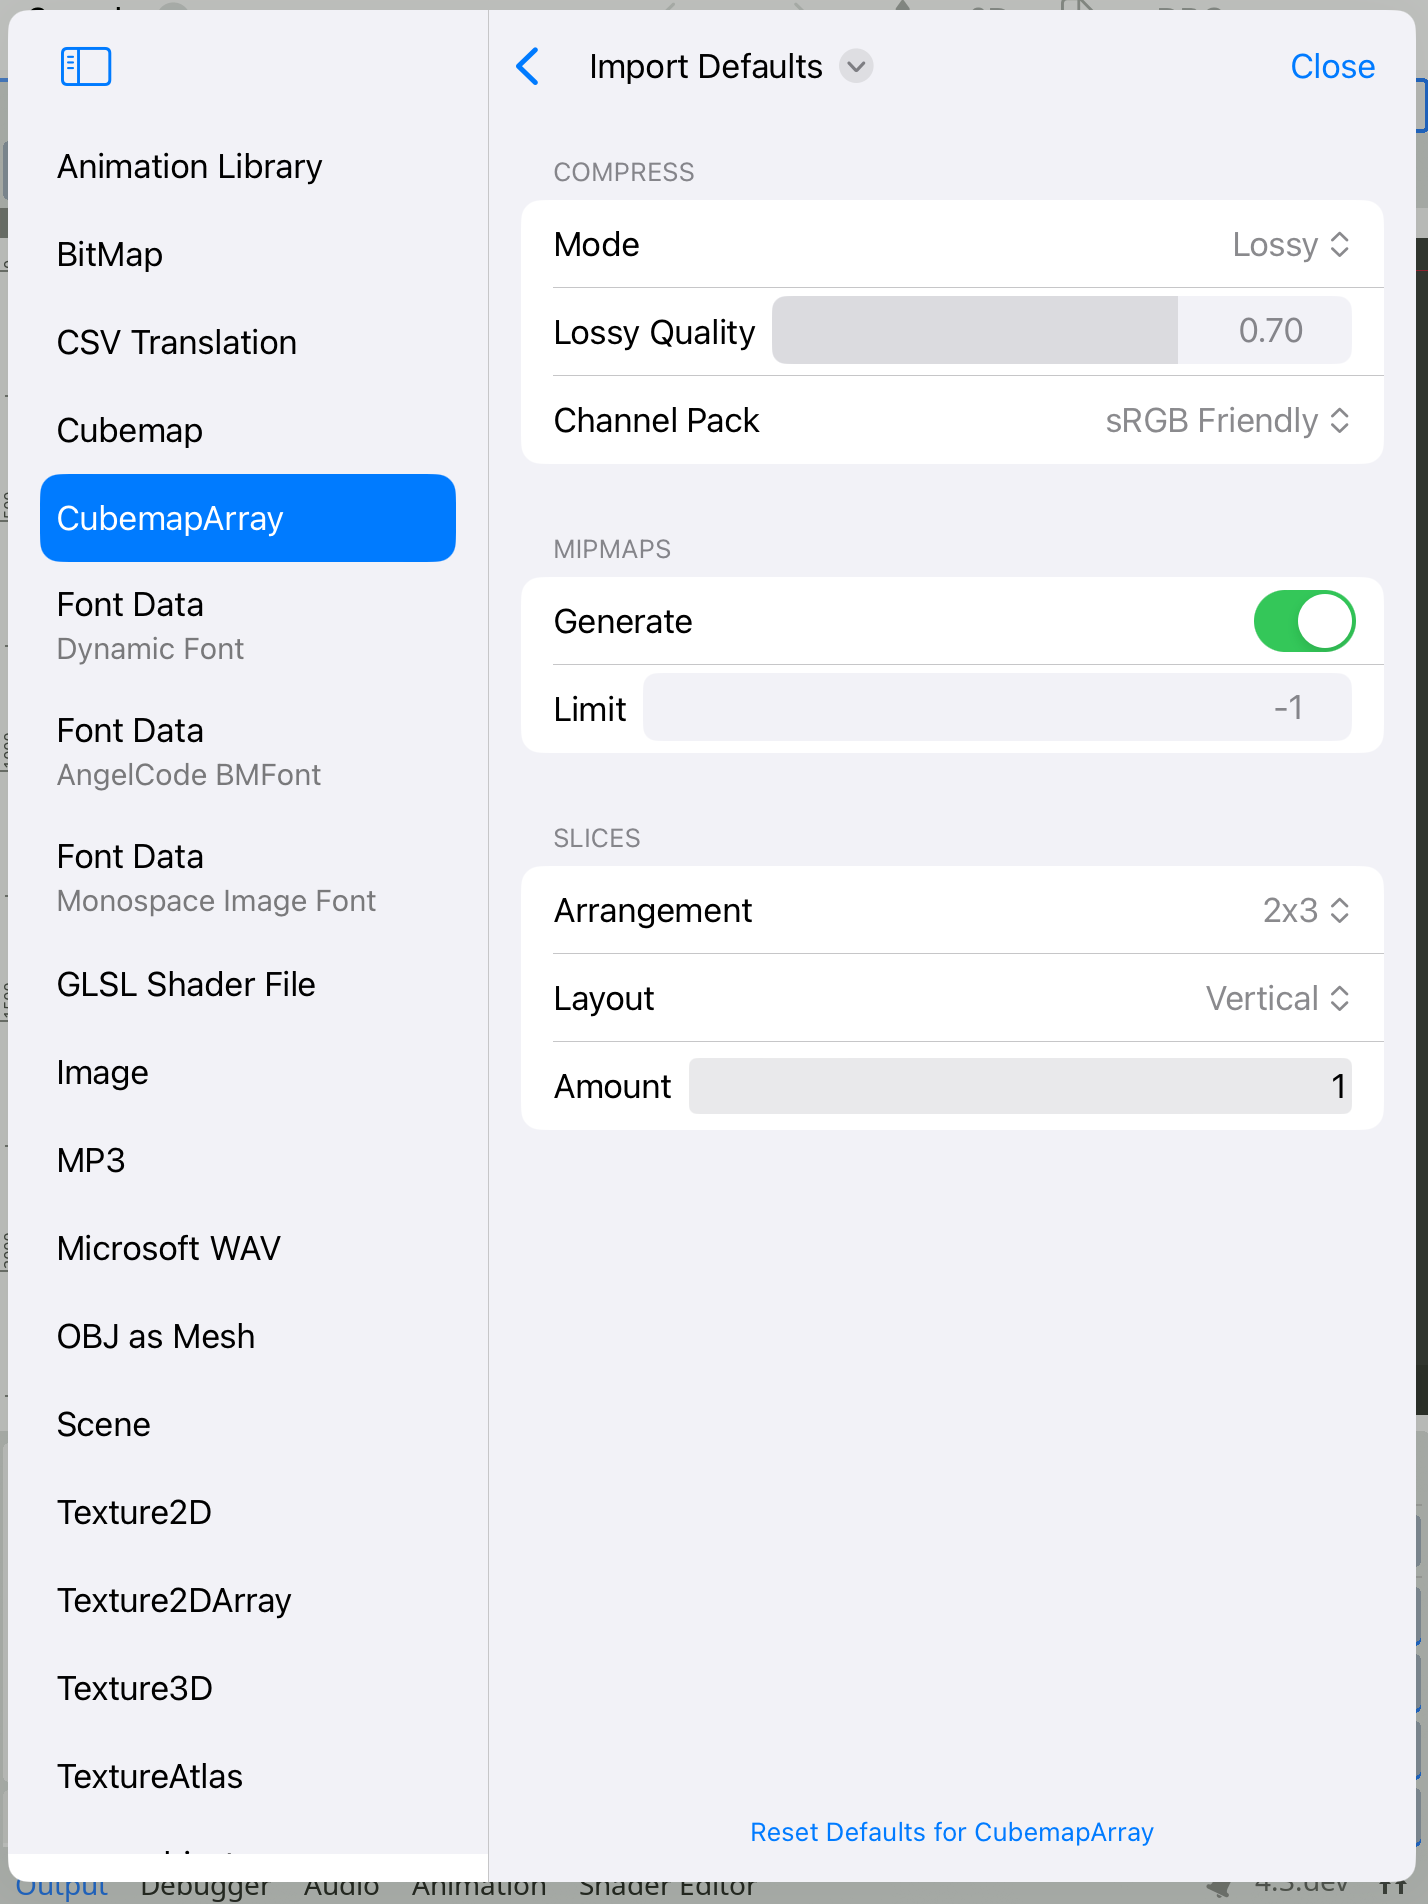
As you can see, I spiced up the menu entries a bit by breaking up the text and moving the text in parenthesis as a subtitle, using, once again, the invaluable secondary style (smaller font, and a lighter color).
For some of the other tabs that did not have much use for the left sidebar, I settled on some information, plus a button to add new elements, as you can see in the Shader Globals:
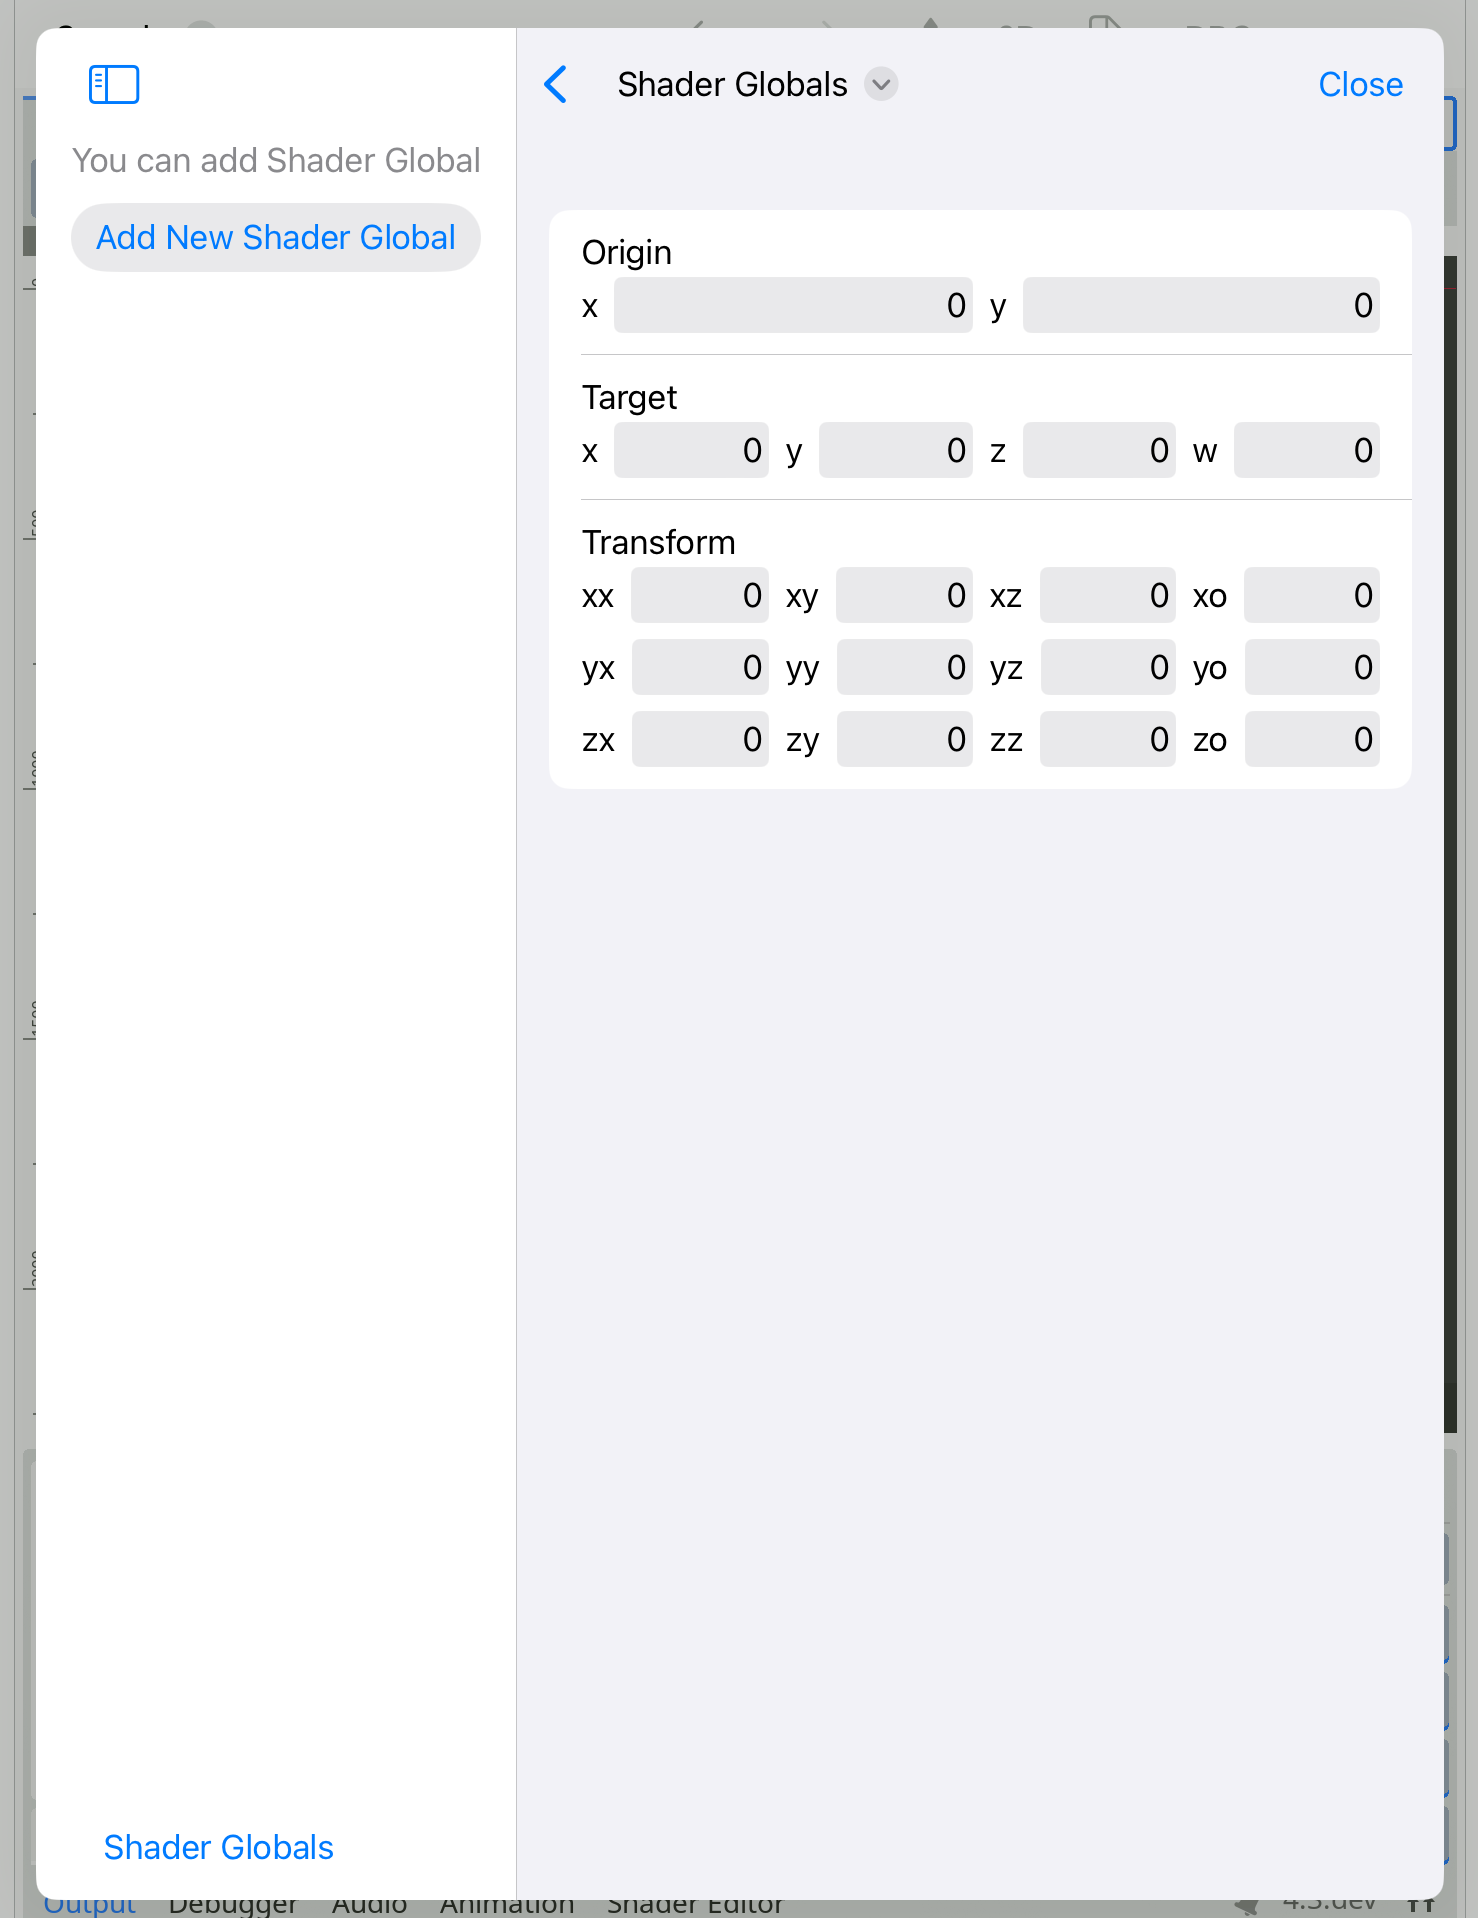
Like the Project Settings, Shader Globals, Plugins, and Autoload use the same property editing capabilities. Still, rather than being backed by a Godot Object, they are stored directly in the Project configuration - and it is another opportunity to reuse the existing code and style.
One excellent side effect of all this Godot and Swift integration is that I use the SwiftGodot API daily. Thus, I am dogfooding the API every day and improving it as I encounter issues with it.